Storing your sports car for the winter? Make sure you give your favorite toy a little extra care before going into hibernation.
Without proper winterization, a few months in storage can turn into an unwanted surprise come spring — rust spots, flat tires, a dead battery or even an engine that won’t start. But with the right storage tips for your car, you can prevent these headaches and ensure your vehicle is ready to roar back to life when winter melts away.
This guide will walk you through the entire process of prepping for winter car storage, from cleaning and critter-proofing to extending battery and tire life.
Step 1: Clean and Prepare the Car

The first step in getting your car properly winterized is to give it a deep clean inside and out.
- Remove trash, food particles and crumbs, as these can attract pesky critters — you don’t want any of them nesting in your car over the winter.
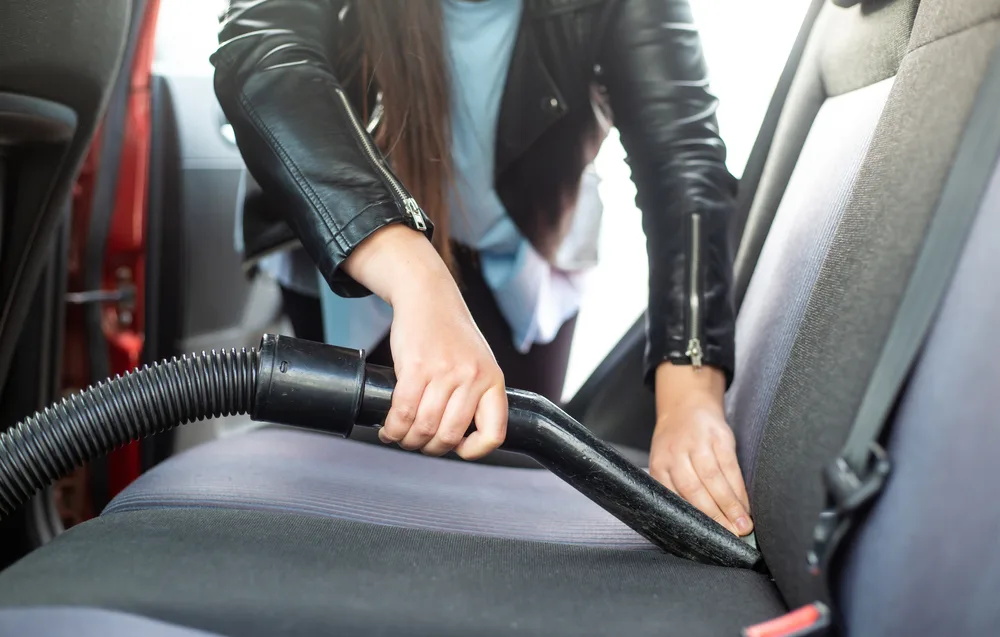
- Vacuum the car thoroughly, including under seats and in hard-to-reach areas.
- Wash the car, including the undercarriage, to remove dirt, mud, grease and any residues like bird droppings or road salt that can damage the paint.
- Inspect the carpets, floor and trunk for signs of dampness.
- Place desiccant packs (like silica gel) inside the car to prevent mold, mildew and musty odors.
Wax and polish
The cleaning/prepping section of our car storage tips is not over yet. After cleaning, apply a coat of wax. This is a protective barrier against moisture and corrosion — common issues during winter car storage.
- Make sure the car is fully dried before waxing to prevent trapping moisture under the wax layer.
- If your car has chrome parts, polish them to prevent rust and corrosion.
Step 2: Check and Replace Fluids

With cleaning out of the way, keep your gloves on as it’s time to check the oil (and change it), top off the coolant, fill the gas tank and add a fuel stabilizer.
1. Engine oil
Oil changes are necessary before putting cars in long-term storage, as fresh oil reduces the risk of harmful contaminants that can damage the engine while sitting idle for a long time.
- Change both the oil and the oil filter.
- Run the engine briefly after the oil change to circulate the fresh oil throughout the engine.
2. Coolant and antifreeze
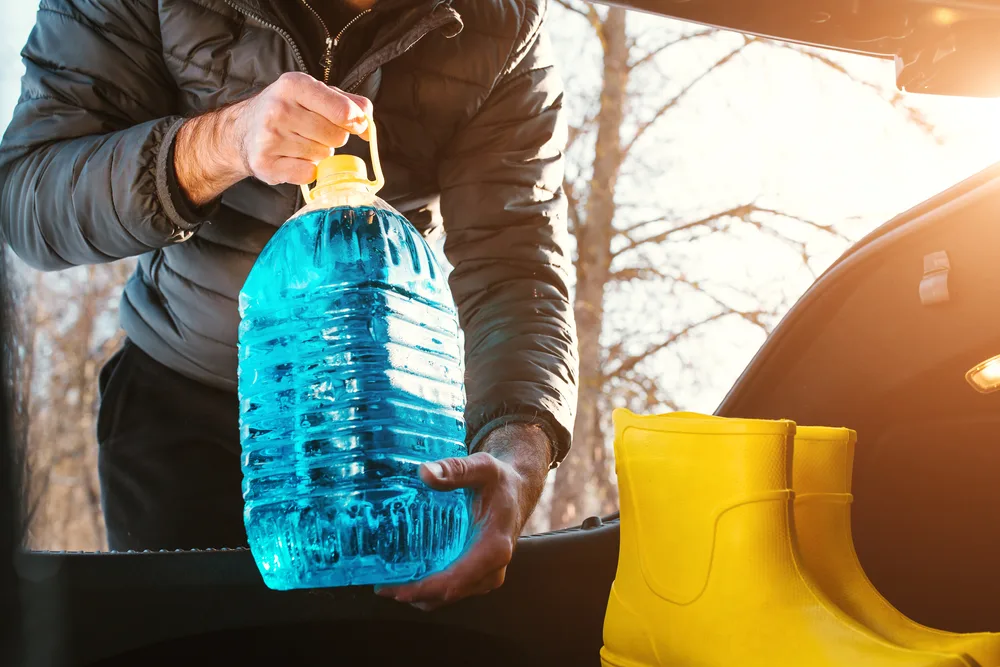
Antifreeze and winter go hand in hand — you wouldn’t want your engine to freeze and crack when temperatures drop — so make sure your car gets enough of it.
- Create a coolant cocktail by diluting antifreeze with water or buy it already mixed.
- Always check the coolant’s strength (the concentration of antifreeze to water) to ensure the water concentration isn’t too high, as this can lead to freezing and cracking the cylinder heads or engine block.
- Choose a coolant type that is compatible with your engine — check your owner’s manual.
- Avoid mixing different types of coolant, as they can have different chemical makeups and cause issues if mixed.
3. Fuel stabilizer
Fill the gas tank with premium fuel and add a fuel stabilizer to keep it from breaking down over time.
- Filling the tank reduces the amount of moist air, which helps prevent rust and fuel contamination.
- After adding fuel stabilizer to the gasoline, run the engine for 10-15 minutes to ensure the stabilized fuel is circulated through the system. This also ensures the circulation of other fresh fluids you just added.
Step 3: Battery Maintenance

A properly cared-for battery will ensure that when you are ready to take it out next spring, your car will start up without problems.
1. Remove or disconnect the battery
To prevent your car battery from draining during storage, you can remove it entirely or just disconnect it.
- Turn off your car, then always disconnect the negative first and the positive second, to avoid any accidental short circuit when disconnecting the battery.
- If you take out the battery, clean the corrosion off the terminals with a mixture of baking soda and water.
- Store the battery in a dry, temperature-controlled environment and avoid placing it on a concrete floor.
2. Use a battery tender
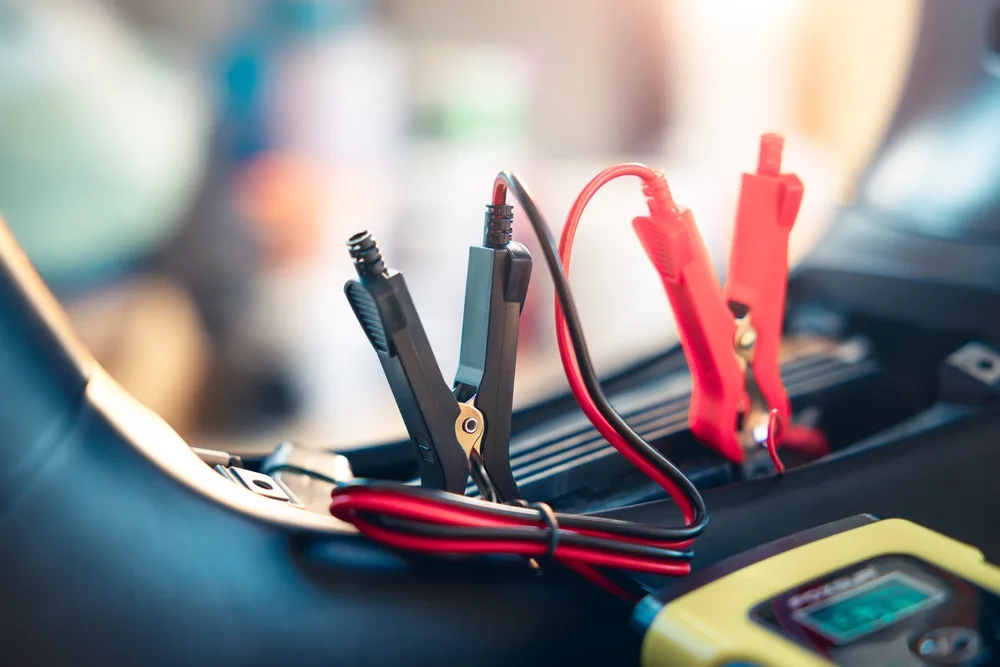
To maintain your battery’s charge over the winter months, your best bet is a battery tender. Your second best is an automated trickle charger. Not sure what to choose? Car and Driver can shed some light on the matter.
- If you have power at your storage location, connect the battery to a tender to keep it in good shape.
- If you don’t have access to any battery tenders, get a trickle charger with an automatic shut-off feature to prevent overcharging.
- Regularly check the battery and its connections while on the tender to ensure everything is functioning properly.
Pro Tip: If your battery is a few years old, it might be a good idea to test it before storage to ensure it’s still in good condition.
Step 4. Protect the Tires

Prolonged car storage takes its toll on the tires. Here’s how you can avoid flat spots this coming winter:
1. Inflate tires
The first thing you can do to prevent dreaded flat spots is to properly inflate your tires.
- Check your vehicle’s manual for the recommended tire pressure and inflate the tires to this level or slightly above. See how to check air pressure in this video.
- A slight overinflation helps counteract any natural pressure loss over time, especially in colder temperatures.
Note: Do not exceed the maximum PSI rating on the tire sidewall.
2. Use jack stands
An even better way to prevent flat spots and tire damage is to remove the vehicle’s weight from the tires whenever you store it for more than 30 days, which is usually the case with winter car storage.
- Lift the car and place it on jack stands at all four corners.
- For shorter-term storage or added protection, use premium quality tire cradles that adapt to the shape of your tires.
3. Additional tips for tire protection
- Before storage, wash the tires to remove dirt, brake dust and small debris like pebbles that can deform the tread over time.
- Use tire protectors or covers if storing the car outdoors to shield the tires from UV rays and harsh weather conditions.
- If your tires show uneven wear, rotate them to ensure even pressure distribution during storage.
Step 5. Cover and Secure the Car

Once the car is clean, fluids are checked and the battery and tires are prepped, you can shift your focus to covering and securing the vehicle.
1. Use a car cover
Even if you store your car indoors, covering it properly can prevent damage caused by dust, moisture and environmental factors during long-term storage.
- Choose a high-quality, breathable car cover to prevent moisture buildup.
- If storing the car on a dirt floor, lay a plastic sheet or tarp underneath to prevent moisture from seeping into the undercarriage.
- If you have a classic car, invest in a car bubble instead. Popular choices are Carcoon and CarCapsule. Note that they both have indoor and outdoor bubble versions.
- Never use a plastic cover, as it can trap moisture underneath, leading to rust, paint damage or mold.
2. Seal exhaust pipes and other openings
After you ensure all windows are fully closed, seal any other openings to prevent critters from entering your vehicle.
- Insert steel wool or tightly packed rags into the exhaust pipes to block entry points for rodents.
- Cover air inlets with plastic bags or aluminum foil and tape securely to keep insects and critters out.
Step 6. Additional Tips for Long-Term Storage

Make sure the storage location is well-ventilated to prevent mold and mildew, but keep an eye out for pests at the same time.
- Don’t pack your storage unit to the brim — ensure natural airflow around your vehicle.
- Seal any gaps or cracks and set traps around the car if you see bugs or rodents.
- Place dryer sheets inside the car (under seats, in the glove box, etc.) to deter rodents and keep the interior smelling fresh.
Here are some extra pointers on properly winterizing your vehicle:
- Apply a rust inhibitor or spray grease to any exposed metal parts, such as suspension components or undercarriage areas.
- Even when storing your vehicle for many months at a time, it is still wise to carry some insurance coverage to avoid possible increases in your rate, plus any unexpected damage that may come up while your car is in a storage unit.
- Use wheel chocks instead of engaging the parking brake. This prevents brake pads from fusing to the rotors over time.
- Prepare a checklist of tasks to complete when taking the car out of storage, for instance, checking tire pressure, reconnecting the battery and inspecting the car for signs of vermin.
FAQs on How to Winterize a Car for Storage
Got more questions about properly winterizing your car? Here are answers to some of the most frequent questions we get:
Can I store my car outside during winter?
Yes, but extra precautions are required to protect your vehicle from harsh weather conditions. For starters, get a weatherproof, breathable car cover that doesn’t trap moisture but still protects against snow, ice and rain. Then, you must regularly clear off any snow or ice that builds up on the cover to avoid moisture buildup and potential rust.
How often should I check on my car during winter storage?
It would be a good idea to inspect your vehicle every 4 weeks for any signs of dampness, bugs or other problems. While at it, see if the battery tender or trickle charger is working properly and the connections are still secure. Check the air pressure in the tires as well, especially if you store the car outdoors or in a storage unit that lacks climate control.


![Relocating RVs: An Expert Guide to Finding RV Relocation Deals and Cheap Motorhomes for Rent [2025]](https://blog.storage.com/wp-content/uploads/2025/03/rv-relo.jpg)
