When renting out a storage unit, you can choose anything from a small 5×5 closet to a super large 10×30 unit where you can store vehicles, furniture and whatnot. The most popular choices usually lay in the middle, as a 10×10 unit is similar to an average bedroom and can hold several pieces of furniture as well as around 50-60 medium boxes.
Whichever size you pick, you’ll want to approach the limited space of your storage unit strategically. Just as you want to reduce clutter and chaos at home by renting out a self-storage unit, your unit should also stay clutter- and chaos-free. Ultimately, you will have easy access to your belongings, end time-consuming searches and won’t waste any rent money on unused space.
Starting with three walls and a roll up door, let’s see how to best set up an empty storage unit to accommodate your secret stash.
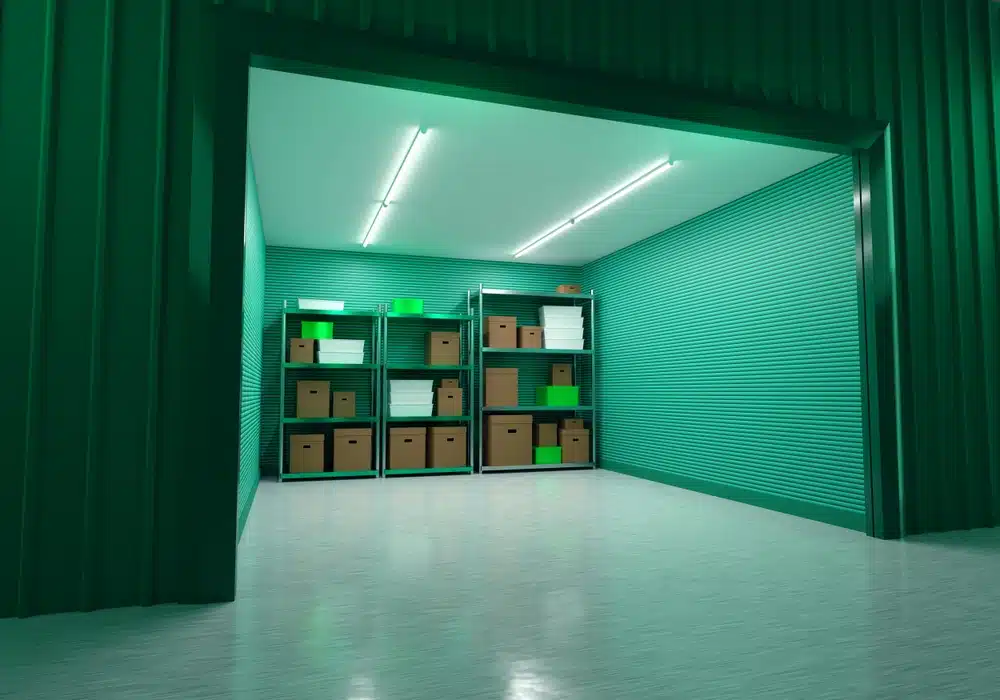
Install Shelving
The first thing you can do to organize an empty storage unit is to install shelving units. Not just anything will do — what you want is something really sturdy and stackable, preferably made of metal. Look for heavy duty standalone garage shelving. Some assembly may be required but adding shelving units along the walls of your storage unit will allow you to keep your fragile or awkwardly shaped items like lamps or vases off the ground and in plain sight.
Shelves are also ideal for keeping boxes and bins that you access frequently such as tools or seasonal clothing. Having easy access will save you the hassle of moving items around to retrieve something you need. Items you do not need regular access to can be stored in boxes or bins and stacked.
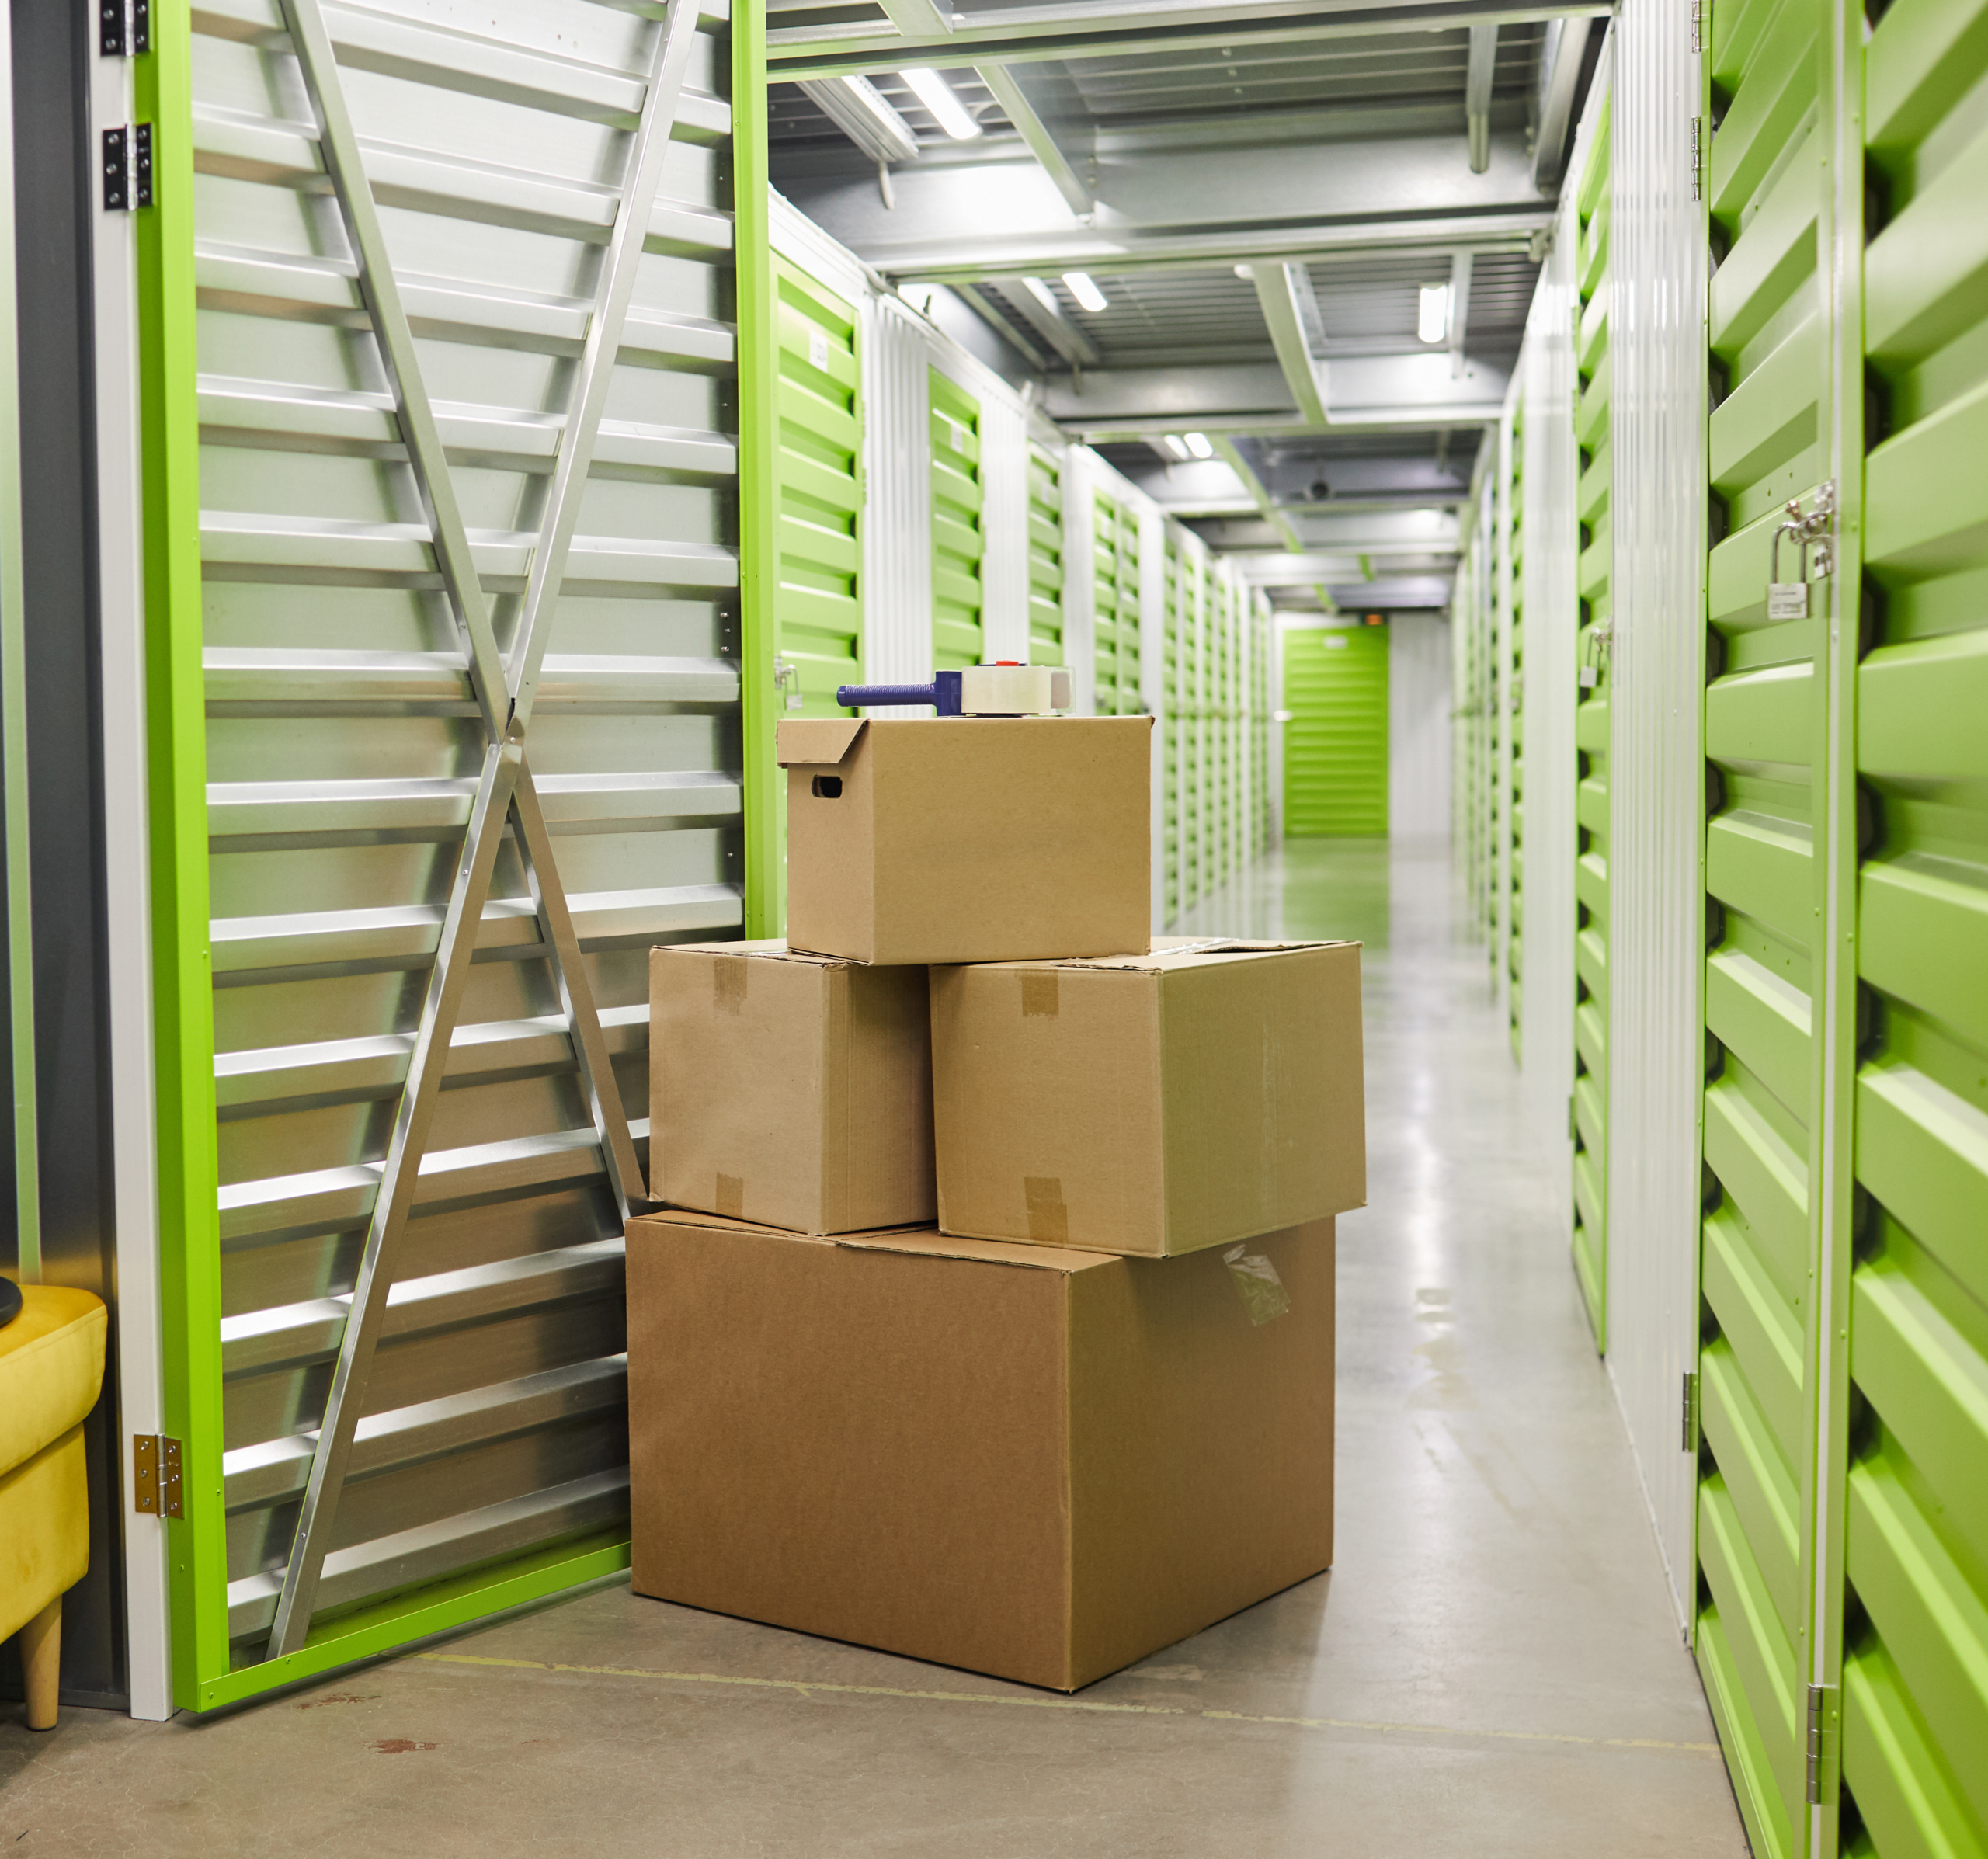
Stacking Boxes
With your storage unit shelves all set up and your bins and boxes properly filled, how about finding the sweet spot for each of them? The rule of thumb here is “heavy on bottom, light on top” as you need a solid foundation. This way, lighter boxes don’t risk being crushed and your stack won’t tip over.
- If possible, use boxes of the same size or stick to just two sizes: medium and large. This makes the stack easier to manage and more stable.
- For extra stack stability, alternate the seams of the boxes in a brick-wall pattern.
- Leave a pathway clear from the front of your unit to the back — this is for both accessibility and safety purposes.
Group items by type, size and weight, but also by how frequently you expect to need them, for instance:
| Item Weight/Usage | Location in Stack | Position in Unit |
| Heavy/Infrequent | Bottom | Back |
| Medium weight/use | Middle | Middle |
| Light/Frequent | Top | Front |
Choosing the Right Boxes
As you may already know, not all boxes are created equal: regular boxes boxes are just fine for lighter stuff, but for everything else, go for the heavy-duty ones. They’re tougher and won’t buckle under the weight, which means you can stack them high without stress (more on that coming right up). Regular moving boxes are typically rated up to 60 to 65 pounds, with heavy-duty boxes up to 75 pounds.
Consider Plastic Storage Crates
Sometimes cardboard just doesn’t cut it, especially for stuff that needs extra protection against moisture or if you want to see what’s inside without playing a guessing game. Time to factor in some plastic bins too. They’re sturdy, they keep moisture out and the clear ones let you peek inside without needing to unpack. Avoid putting too much weight into plastic crates though, as they will begin to break and crack if overloaded and stacked improperly. Use heavy-duty storage crates for larger or heavier items, these will typically be a solid color (not clear) and have thicker, snap-on lids.
Packing Bins and Boxes Like a Pro
If you pack your boxes efficiently, that equals less boxes and makes organizing your stored belongings more efficient. When loading up your boxes, make sure you leave no empty spaces where things could shift and turn into a jumbled mess. Use crumpled paper, bubble wrap or even old T-shirts to fill in gaps.
Are you going to store clothes between seasons? Some can be folded into cylindrical shapes (give the rolling technique a try), while others would rather be kept on neat hangers. Folded clothes go in bins or vacuum-sealed bags (not cardboard boxes), and hung ones are best stored in wardrobe boxes aka portable closets. If you are primarily storing clothing, consider getting a commercial clothing rack to maximize space.
How To Organize Your Storage Unit With Categories and Labels
Before making a plan for stacking your boxes and shelving some separate items, how are you going to keep track of where everything is? It all starts with categorizing, labeling and color-coding. A bit later, we’ll see how these play into a broader inventory strategy, but first things first.
- Think about sorting your stuff by room or content. Kitchen stuff? Box it together. Holiday decorations? Same deal. Continue like this until you’ve got everything covered.
- Grab a permanent marker and start tagging each box on the top and all sides. This way, no matter how you stack them, you can spot what you need without moving a mountain.
- You can use color-coded labels or duct tape to make each category or room stand out. Again, do that on all sides.
- Got fragile items? Slap a “Fragile” sticker on them. Need to know which way is up? That’s right, there’s a label for that too.
Keep Track of Everything in Your Unit
With everything labeled and stacked, it’s time to put those labels to good use with a dash of inventory management. Whether on paper or even better digitally, keeping a record of what’s where means you never have to second-guess if you packed away those winter boots or where your holiday decorations ended up.
Set up a digital inventory list. It’s easier to update and you can sync it across your devices so it’s always handy. It can be anything from a simple spreadsheet to a phone app that scans QR codes. The point is to have a unified place to track each box’s content, label number and location in the unit. Each time you add or remove an item, update the list to keep it current.
Crank it up a notch and create a photo inventory. Take a picture of the contents of each box before sealing it, label the photo with the box number and add it to a digital album or your inventory spreadsheet. Nothing beats a visual proof but it’s more of a hassle to update, so keep it as a bonus, not to replace your original list.
Need an extra tool for your inventory arsenal? Go ahead and draw a map of your storage unit, marking where each category or box is located. This visual layout plan is user-friendly and especially handy if you’re not the only one who accesses the storage unit. (This might even be a good idea to do before you start loading your stuff inside your empty unit, hint hint.)
Now You Know How To Organize Your Storage Unit
We picked out the toughest shelves together, we tagged boxes like we meant it and piled them up just right. Now got the whole scoop on maximizing storage space and making your unit as neat as a pin. Next time you swing by your storage, it won’t be a wild goose chase but more of a walk in the park and it sure feels great to know you made the most out of every inch of storage space you paid for.