
Article takeaways
- With the right planning, packing materials, and use of vertical space, you can increase the available space in a storage unit by 30 to 50 percent.
- Start organizing your storage unit by creating a detailed inventory, color-coding and labeling your boxes, and making a note of which items you need to access most often.
- Use plastic bins and tubs with stackable lids whenever possible to get the most out of a storage unit’s vertical space.
- Decide how your storage unit will be organized before you load everything into it, such as labeling which items will be stored in which areas and planning out pathways through the unit.
- Visit your unit regularly to check on your items, rotate seasonal items in and out, and clean and organize to prevent overcrowding.
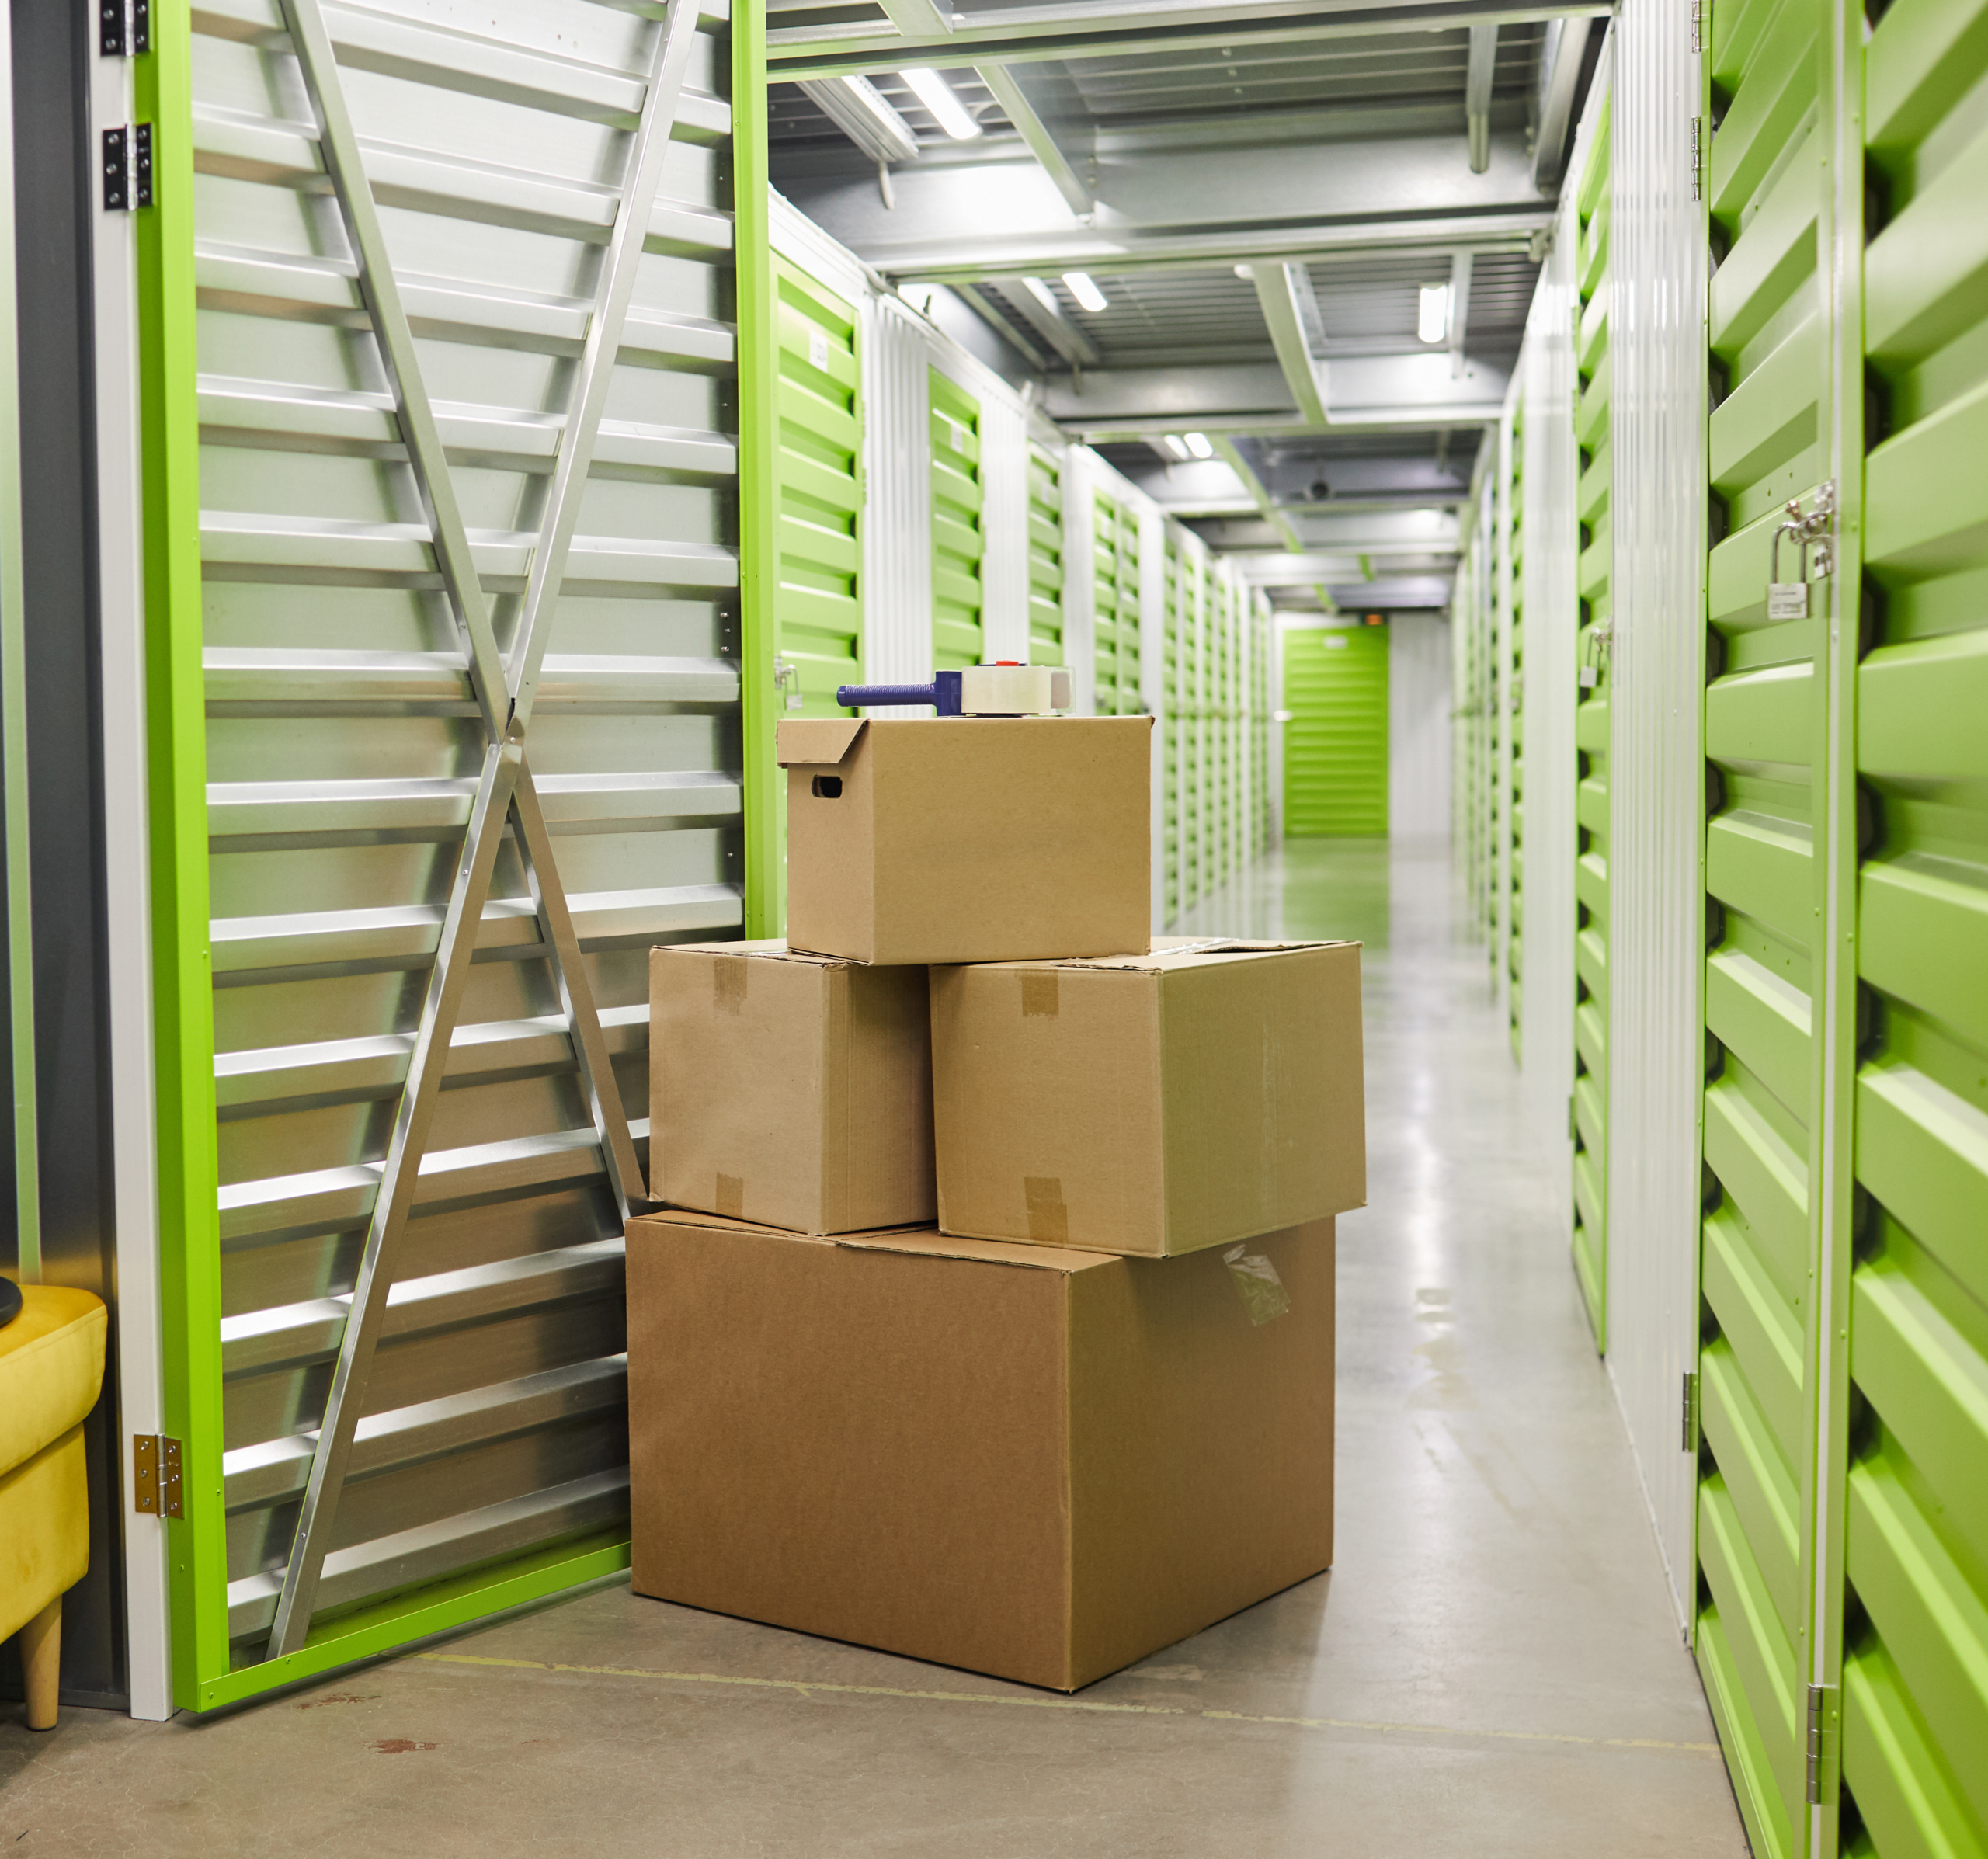
Storage units serve many purposes for many people, from temporary space while moving to an extra place for decluttering one’s home. Whatever the reason may be, keeping a storage unit organized is key to getting the most bang for your monthly rental buck; a cluttered unit gives you less space to work with and makes it more difficult to find what you need.
If you’re already renting a storage unit that needs organizing, or you’re just browsing and reading up on units, you’re in the right place! In this article, we’ll unpack (sorry) some tips and tricks for keeping a self-storage unit tidy and usable for short- and long-term use. We’ll also go over why packing and organizing are so important, and take a quick look at how to make sure specialty items are ready for storage.
Why should I worry about organizing my storage unit?
Self-storage renters can run into all of the following problems if they don’t spend time getting their unit organized:
- Less space to work with. A messy storage unit reduces your available storage space by 30 to 50 percent, meaning you may not have enough room for everything you intend to fit inside. Some renters will opt for a larger unit so they don’t have to worry about organization, but these can cost significantly more.
- Damage to your belongings. If you don’t pay attention to what’s being stacked on top of what and what isn’t properly protected from the elements, you can wind up with weather and crushing damage to some of your most important items.
- Inconvenience. Scattering your items all over a storage unit can cost you valuable time when you return to find specific things. Nailing down your organization early on can also be time-consuming, but it’ll make your storage unit much easier to use in the long run.
Luckily, proper packing isn’t too difficult. If you’re unfamiliar with the best practices for organizing a storage unit, we’ll make sure you’re up to speed by the end of this article.
How do I plan and prepare to organize a storage unit?
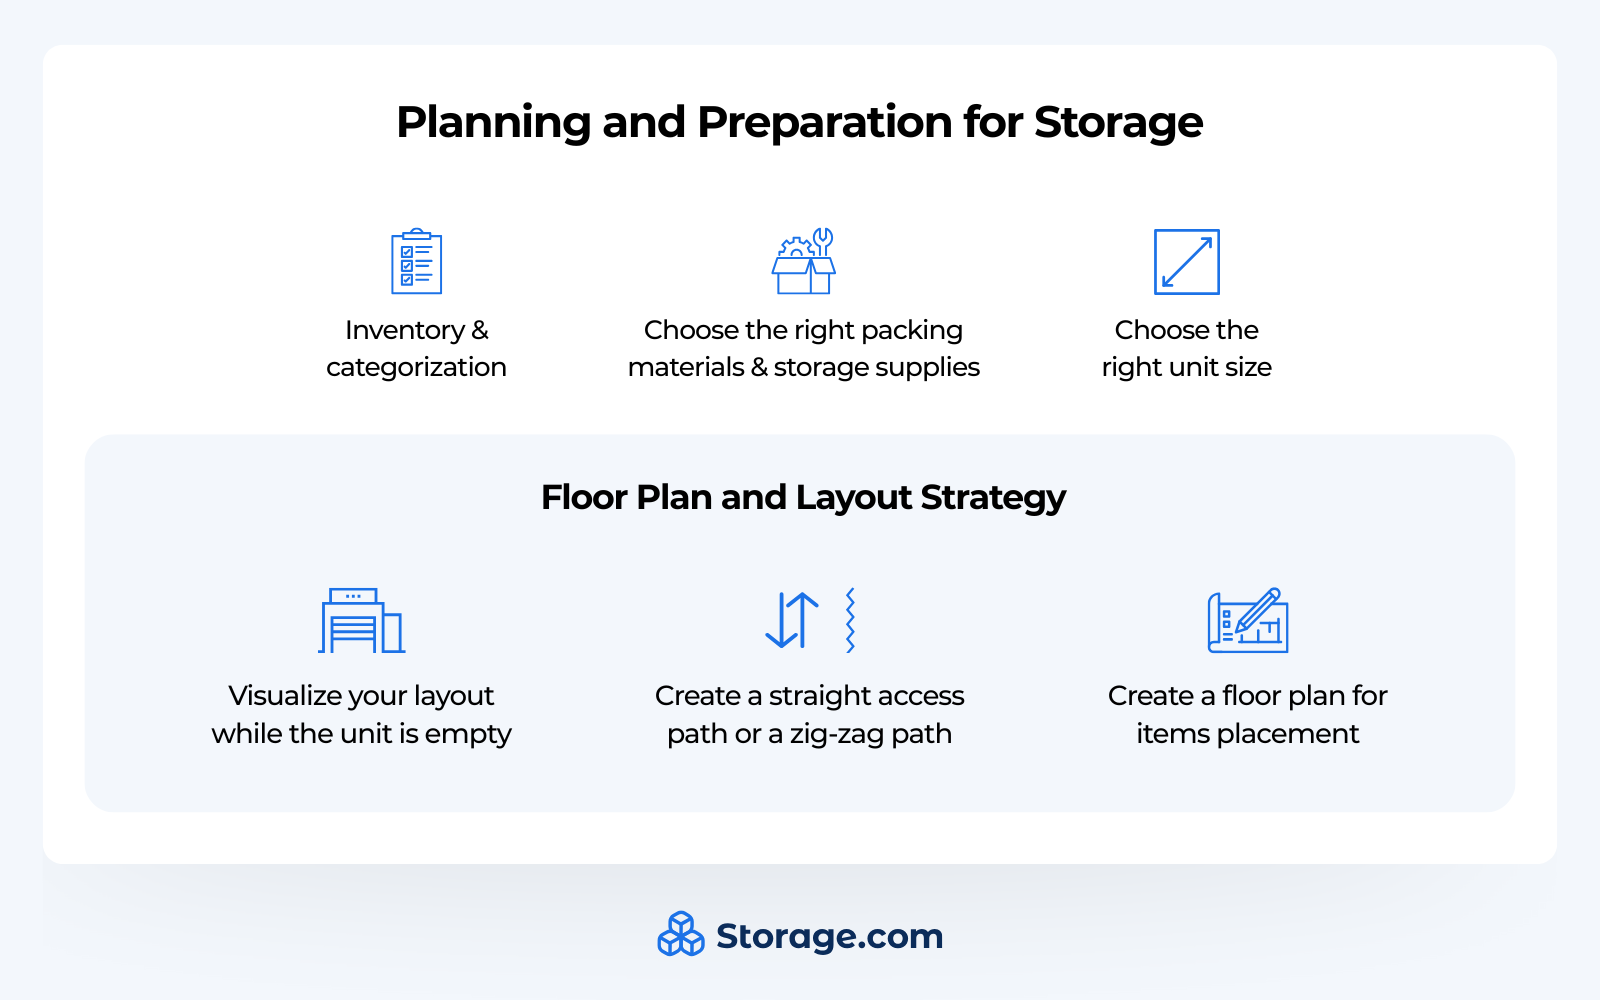
Take time to create a detailed inventory, choose the right packing materials for your needs, and block out a floor plan before you start the moving and organizing process.
Making an inventory list
There are plenty of ways to create inventory lists, from pen and paper to a digital spreadsheet. Whatever your method, we suggest following these steps.
- Create an entry of every item you plan on storing. It doesn’t have to be pretty or well-organized yet, just as long as you clearly label each item.
- Remake your list, but organize it into categories. For example, group household tools under a “Tools” category. If you’re using pen and paper, cross off each item as you transfer it to the new list.
- Leave space to add in bin numbers and locations for when you move into the unit proper. This will help you find what you need in the long run.
- Identify which categories you’ll need to access most often. For example, “Tools” may be something you regularly reach for, while “Seasonal items” won’t be used as often. Use these labels to plan out where each category will go inside the unit.
Whatever method you’ve used to make your list, we suggest printing a physical copy to keep inside your storage unit as a cheat sheet. This way, you’ll always have it on hand when visiting.
It’s also good practice to decide on what labeling scheme you intend to use before you start packing. Do you want to use colored tape to categorize items, number your bins for easy access, or clearly write the category of item on each box? None of these are mutually exclusive; you can easily color-code, number, and label your packages all at once for maximum ease of use. Leave space for each of these categories on your inventory sheet.
Selecting packing materials
Once you know what you’re packing, use your inventory list to inform what packing materials to use. Let’s go over some of the most common boxes, bins, and bags you’ll find for packing and what they’re best used for.
- Cardboard boxes. Good cardboard moving and banker’s boxes are cheap, sturdy, and effective, and they’re easy to stack. However, they’re some of the most vulnerable to the elements, so use them for belongings you aren’t worried about damaging and make sure you don’t stack heavy items on top of lighter items.
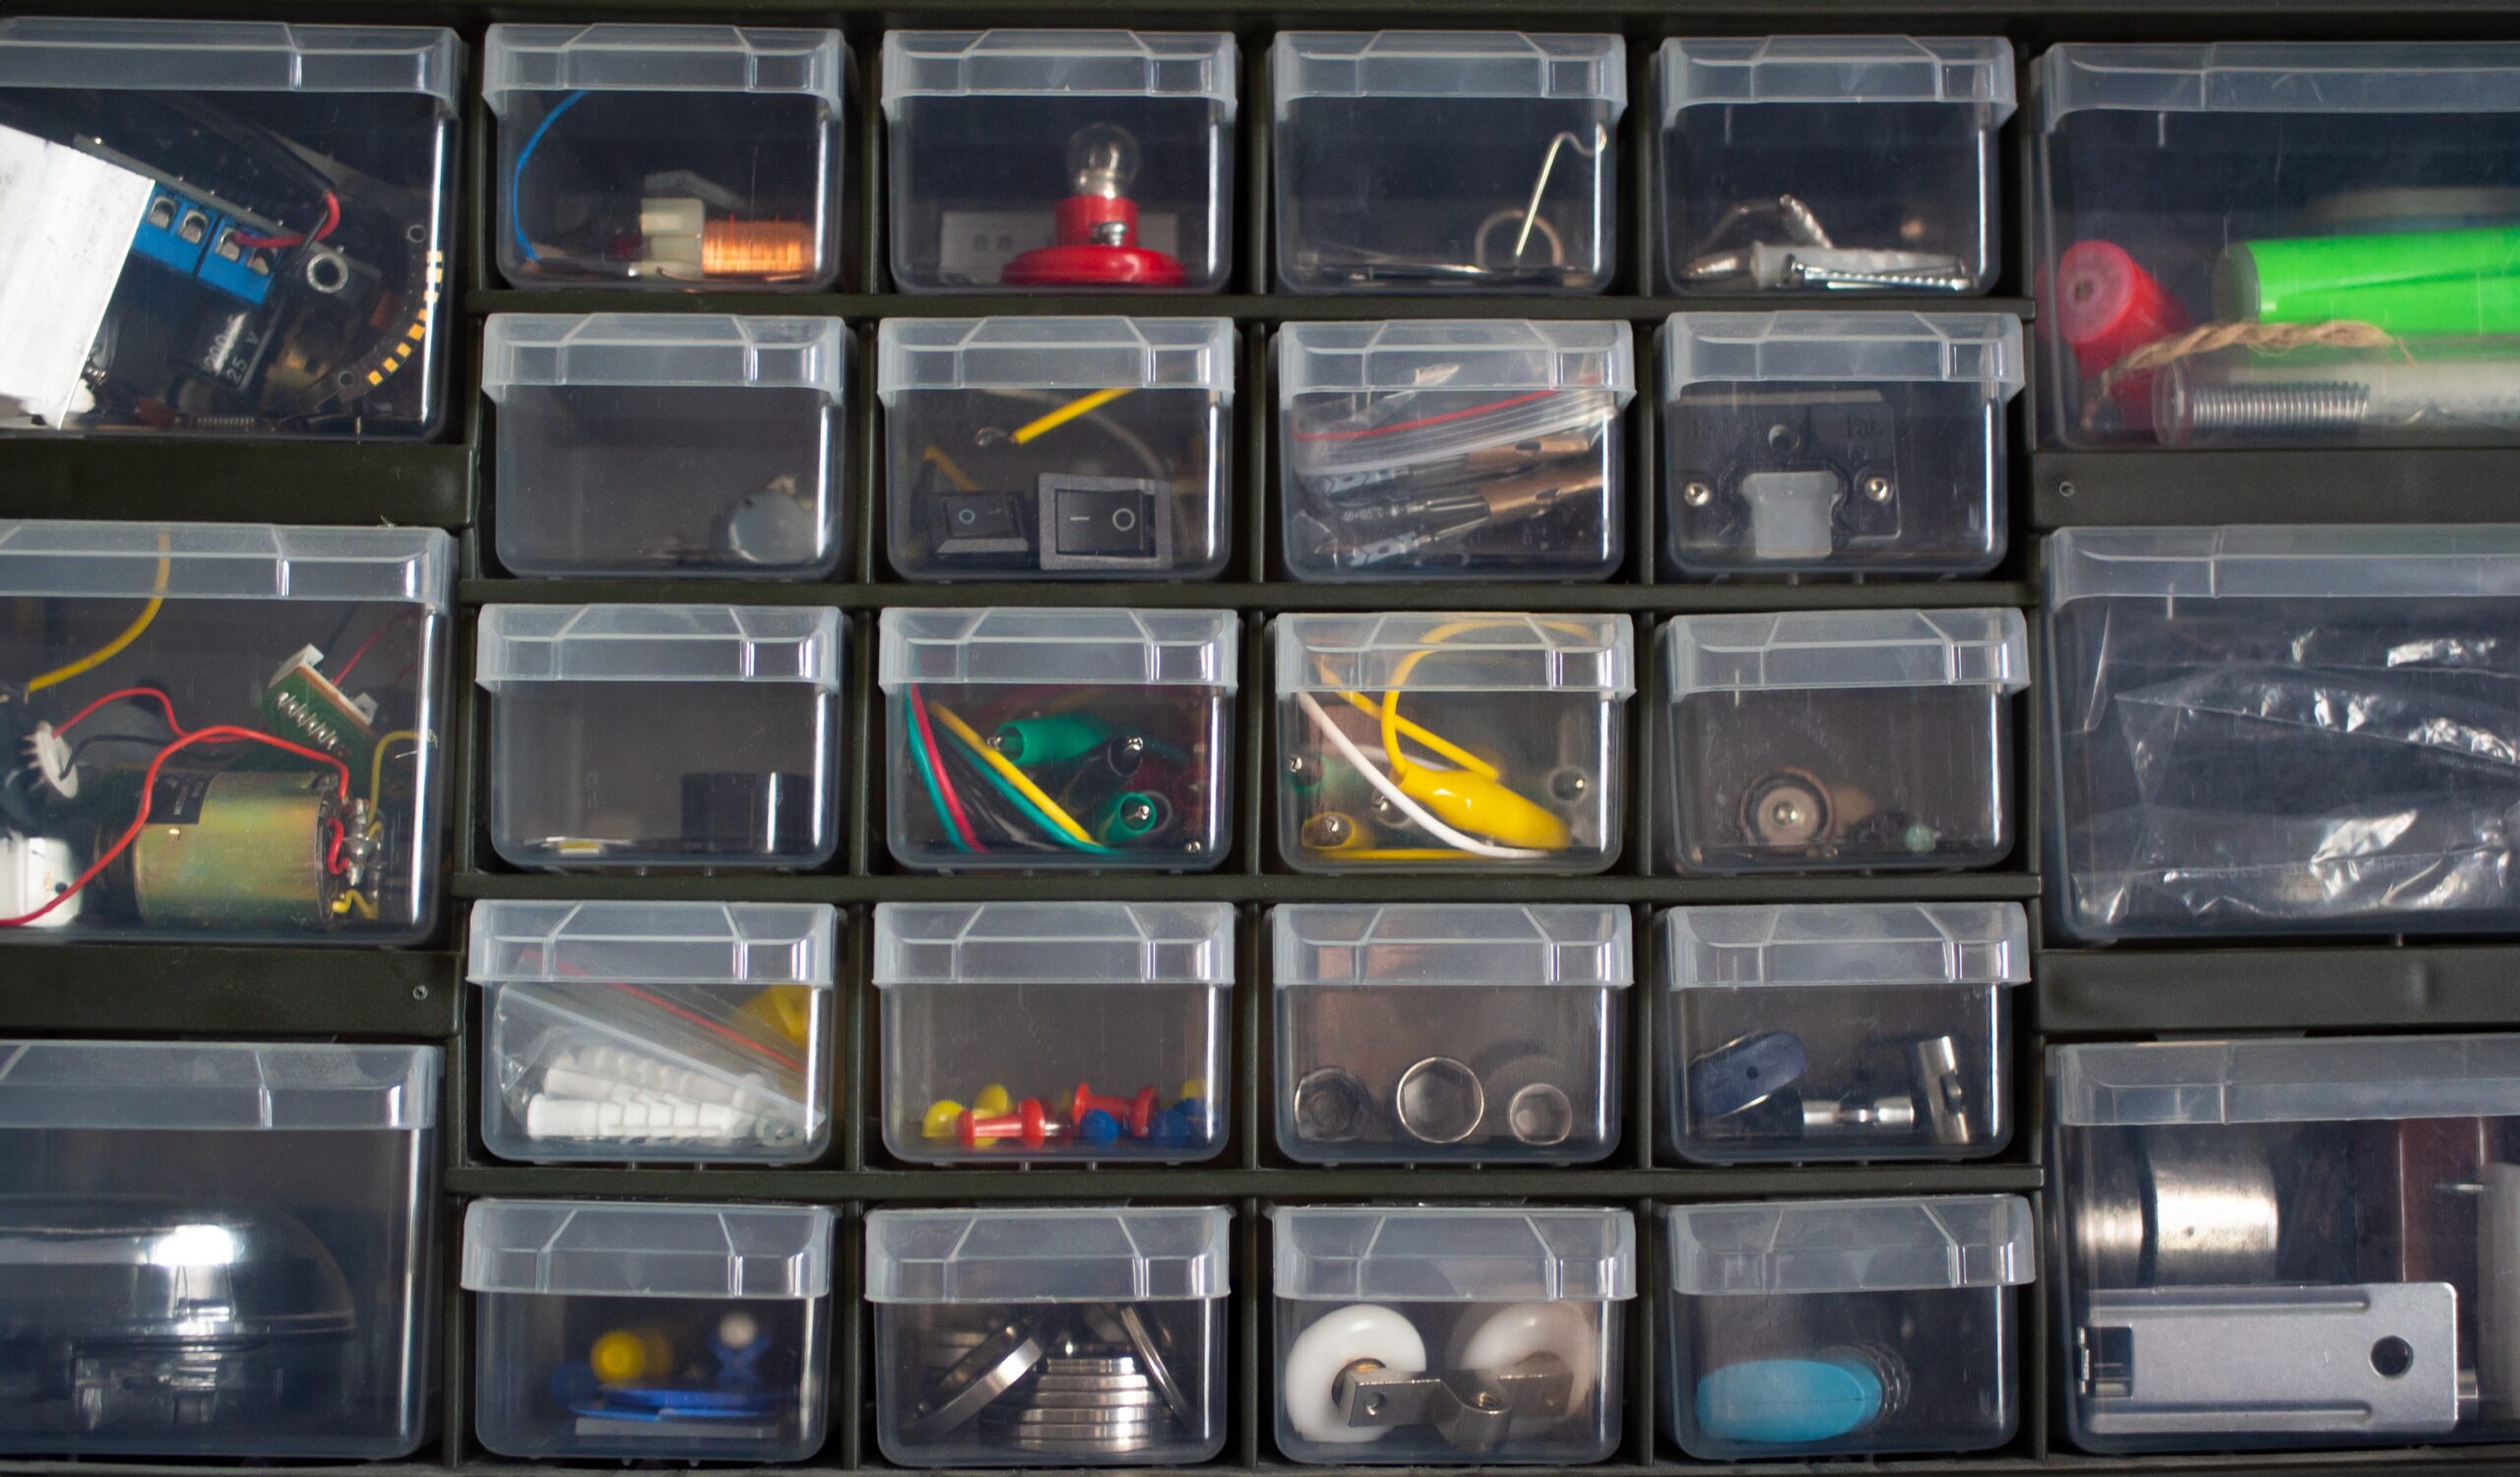
- Plastic bins and tubs. You can find these at any department store, and while they’re more expensive than cardboard boxes, they offer better protection from the environment and can be sturdier. Anything that doesn’t need air flow and might suffer moisture and pest damage can go in these bins, and many brands use uniform lids that are simple to stack.
- Clothing storage bags and wardrobe boxes. Delicate fabrics are best stored in these, as they offer a combination of breathability and protection from moisture. We recommend getting a shelf or clothing rack to hang storage bags on.
- Archival-quality cardboard boxes. Invest in these to store any delicate paper goods, such as valuable books or important documents. They’re made with acid-free materials that won’t damage the paper inside as they degrade over time.
Some other materials to keep an eye out for:
- Bubble wrap for fragile items
- Moisture absorbers, such as silica gel, to keep mold and mildew away
- Storage carts for items you’ll frequently access
- Drawers and shelves to keep paper goods off the ground and maximize vertical space
- Markers, labels, and tape to label and seal your boxes
Selecting the right size storage unit
Before you can organize a storage unit with a floor plan, you need to know what size unit best fits your storage needs. Here’s a handy table of common storage unit sizes, their square and cubic footages, and what kinds of items best fit inside each to help you make an informed decision.
| Size | Square/Cubic Footage | Best Used For | How Much Space? | What Can Fit Inside? |
|---|---|---|---|---|
| 5′ x 5′ | 25 sq. ft., 200 cu. ft. | A little extra space | A small closet’s worth | Seasonal decorations, sports gear, small furniture, a few small or medium moving boxes |
| 5′ x 10′ | 50 sq. ft., 400 cu. ft. | Storage for small apartments and temporary transitions | A large walk-in closet’s worth | Queen-size mattress, sofa, bike, chairs, 10–15 medium moving boxes |
| 5′ x 15′ | 75 sq. ft., 600 cu. ft. | Storage for one-bedroom apartments, college dorms, small businesses | A small bedroom’s worth | Bedroom set, dresser, dining table, couch, washer/dryer, 15–25 medium moving boxes |
| 10′ x 10′ | 100 sq. ft., 800 cu. ft. | Storage for two-bedroom apartments | Half of a standard garage’s worth | Large furniture sets, major appliances, 10–20 larger moving boxes or totes |
| 10′ x 15′ | 150 sq. ft., 1,200 cu. ft. | Storage for a small house | A compact car garage’s worth | King-size mattress, living room set, motorcycle, large tools, appliances |
| 10′ x 20′ | 200 sq. ft., 1,600 cu. ft. | Vehicle storage with some extra space, or larger business inventory | A standard one-car garage’s worth | One car, multiple bedrooms’ worth of furniture, appliances, 80–100 medium moving boxes |
| 10′ x 25′ | 250 sq. ft., 2,000 cu. ft. | Storage for large households, extended business inventory, or a larger vehicle | A standard garage’s worth, plus a walk-in closet’s worth | Two cars or one large vehicle, full household furniture, business inventory |
| 10′ x 30′ | 300 sq. ft., 2,400 cu. ft. | Storage for businesses or large households undergoing major transitions | A whole house’s worth | Full household furnishings, commercial equipment, large appliances, a vehicle, up to 150 medium moving boxes, full business inventory |
Make sure you don’t pick too large of a storage unit; a little extra space is necessary for you to move around, but too much means you’ll be paying more for space you aren’t using. To help you budget your unit, take a look at our average storage unit price guide for the United States.
Making a storage unit floor plan
Once you’ve nailed down what storage unit size you need, contact the facility you’ll be renting from to see if they have physical maps of their unit sizes. If not, it should be rather easy to draw one up yourself; all units are essentially big rectangles. We also recommend visiting an empty unit at the facility so you can get a sense of what physical space you’ll be working with.
Decide on your access paths while you’re visiting the unit and envision where your boxes and bins will go. These paths work a bit like aisles at grocery and department stores; they should give you enough space to comfortably move around, but also give you access to every item you’ll need at any time.
Tips for plotting out an access path
- For smaller units, plot a straight-line path from the door to the back wall and line the sides with items. Create a floor plan that puts everything either to the left or right of the central path, so you can access both sides of the unit from the center.
- For larger units, plot a zig-zag path that goes from the doorway to the center of one wall, and then to the back corner of the opposite wall. This will give you some extra room to move and access items where a single straight path won’t.
If you’ve already started loading up your unit before plotting this out, don’t worry. You can easily take everything out and reorganize it, especially if you’re only partway through packing.
Last-minute storage unit planning considerations
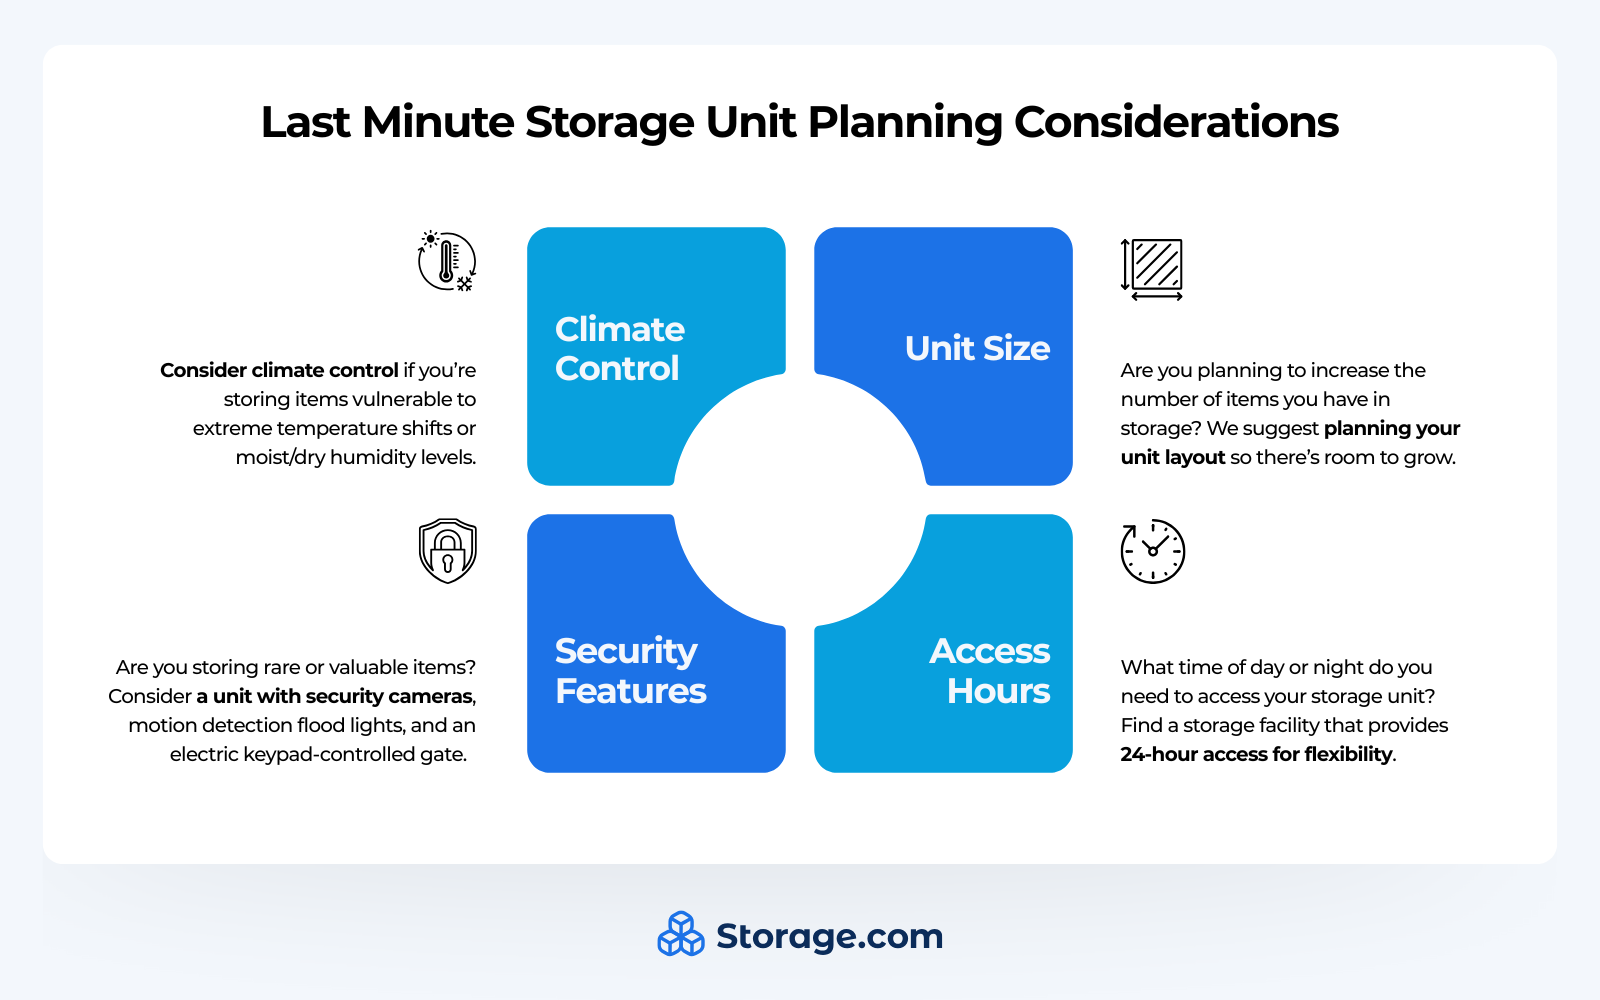
Before you start packing your unit, here are a few more things to keep in mind while shopping for the best storage facility for your needs.
Climate control
Climate-controlled storage units cost just a bit more than units without it, but they’re well worth the investment if you’re storing items that are vulnerable to extreme temperature shifts or moist/dry humidity levels, like books, records, documents, electronics, wooden furniture, tools, vintage or delicate clothing, antiques, or musical instruments. These units use HVAC and humidity control systems to keep temperatures between 55°F and 80°F (13°C to 27°C) and humidity between 30% and 60%. Combine a climate-controlled storage unit with the right packing materials for maximum protection.
Planning for extra items
If you intend to add more items to your storage unit over time, such as a collection of valuables or business inventory, make sure you plan ahead by creating a layout that allows for those items. Use shelving units to maximize vertical space, or opt for a slightly larger unit that provides the space you need. Swapping for a larger unit mid-rental is easy on the business side, but will cost you time and money to transfer all your stuff.
Security features
The highest-quality storage facilities will have plenty of measures in place to protect any valuables you may be storing. Look for facilities that offer on-site security staff, restricted entry with keypads, and a robust surveillance system to monitor any intruders that may try to get in.
24-hour access
Depending on your schedule, you may not be able to access your storage unit during standard opening hours. If this is the case, make sure you rent a unit that offers 24-hour access, enabling you to visit your unit at whatever time is convenient for you.
If you’re looking for storage that offers these features and more, you’re in the right place! Our built-in search tool will allow you to filter facilities near you that offer the features you need most.

How can I pack my storage unit to make sure it’s well-organized going in?

You’ve taken care of all the planning you need; now it’s time to get packing. Follow these tips while getting ready to load up your storage unit, and you’ll be an organizing pro in no time.
Techniques for storage prep and packing
As mentioned earlier, you should have a good range of cardboard boxes, sturdy clear plastic tubs, and specialty packaging for delicate items. Now it’s time to figure out how items will fit within each box and bin.
- Weight distribution. A good rule of thumb for packing is to put heavy items in small boxes and lighter items in larger boxes. This will ensure each package is around the same weight and will make sure your cardboard and plastic won’t buckle. When packing the unit, make sure you only stack similar-sized boxes on top of each other to prevent crushing.
- Filling space. Don’t leave empty space in any of your boxes if at all possible, as this creates weak points where they can be damaged. Fill empty space with soft items such as towels or extra bubble wrap to prevent these weak points.
- Proper sealing. Plastic containers often employ secure seals for their lids, but for cardboard boxes, you’ll want to use extensive packing tape to keep them shut and reinforce their corners. Make sure you don’t overstuff containers so they can be properly shut.
Preparing furniture for storage

Boxes and bins often won’t fit furniture inside, so take the following steps when you’re putting something like a dresser or bed frame in your unit.
- Take apart whatever furniture you’re able to. Storing individual furniture parts will take up less space and remove some weak points where pieces may be screwed in.
- Don’t stack furniture pieces on top of one another. Use the space you have to put thin items like headboards behind other boxes or strap them up against the walls.
- Don’t wrap furniture in materials that might trap moisture inside, as these can lead to mold and mildew damage. Wrap them in moving blankets or other fabric instead for some breathability and protection, and never tape the blankets to the furniture itself.
- Use the space inside the furniture to store other items. For example, if you’re storing a dresser with drawers, you can fit plenty of small and light items inside the drawers.
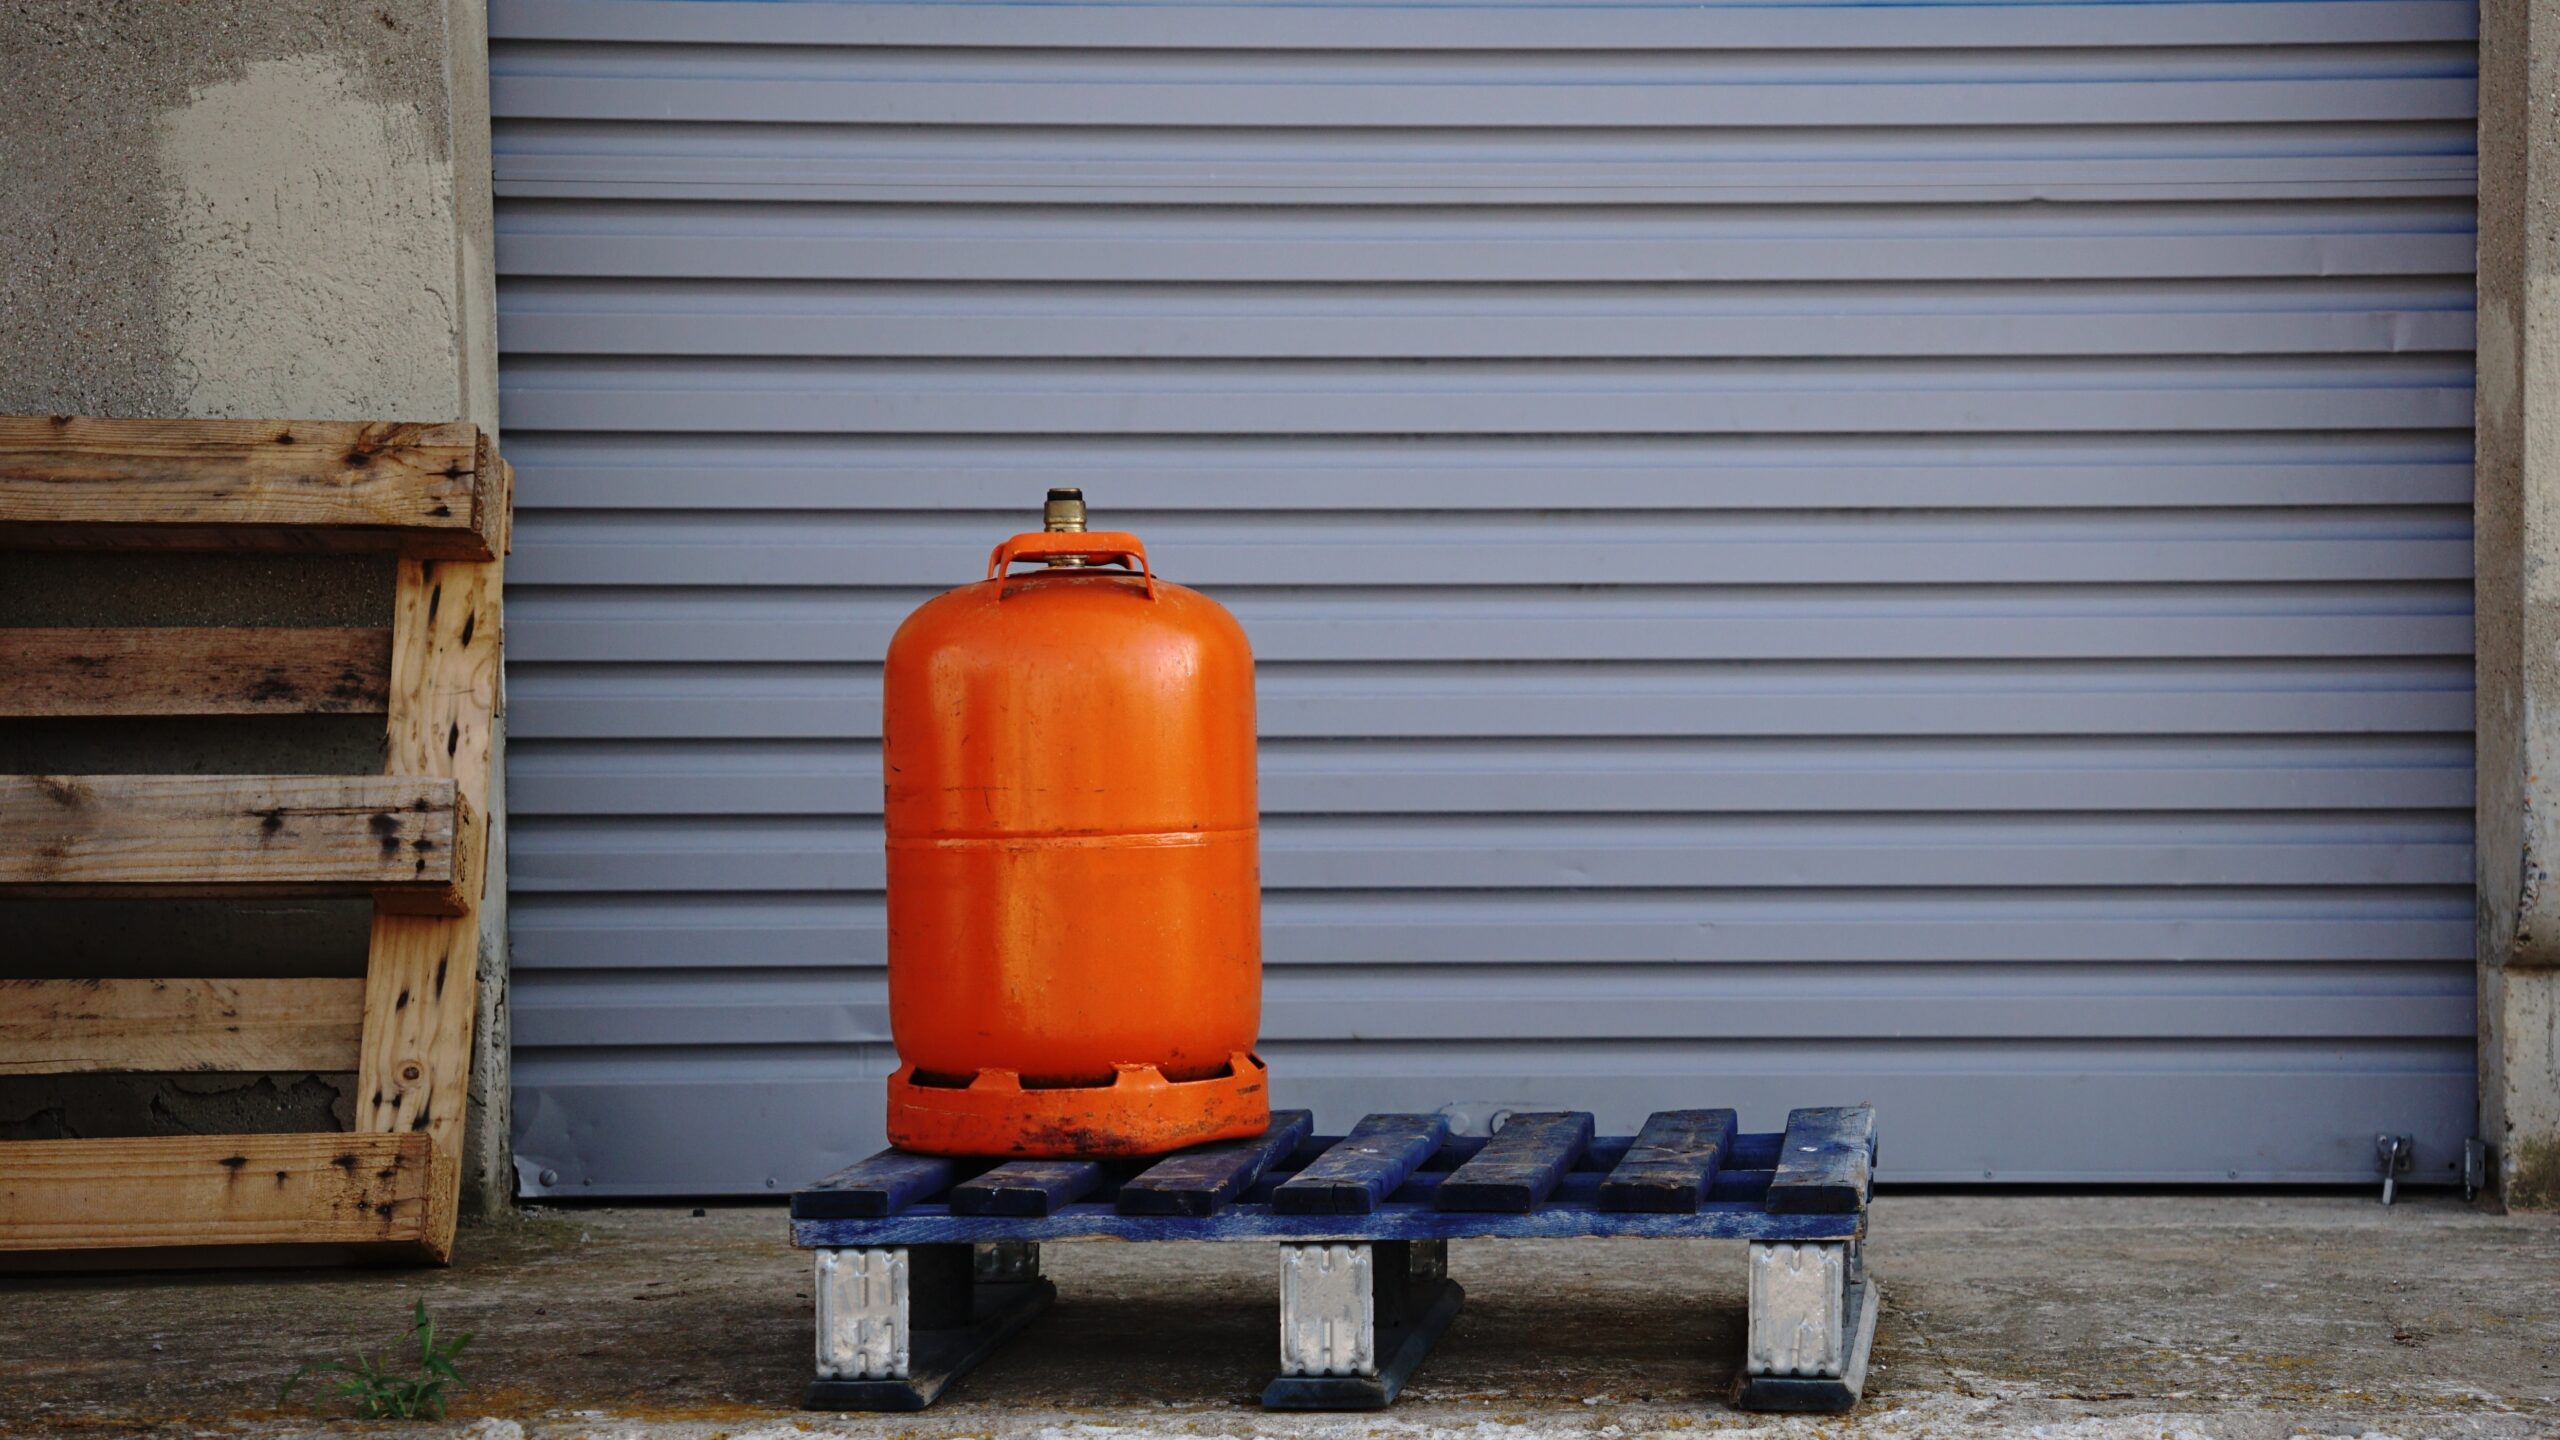
Preparing specialty items for storage
Regular items and furniture aren’t the only categories you’ll be storing. Take special precautions when storing items of the following categories; as a rule of thumb, a climate-controlled unit is often the best way to store all of them.
- Electronic devices. Back up any data stored on any device you’re storing, turn them off, and remove the batteries before you store them. Clean the device with a microfiber cloth and use the same kind of cloth to wrap it; never use plastic or any other material that might trap moisture and damage the electronic parts. Storing electronics in a climate-controlled unit is an easy way to prevent most moisture damage.
- Appliances. Take the same precautions as you would for any other electronic device, but make sure you unplug the appliances before you prep them and remove any liquid, glass, or fragile pieces before storage. You can prevent rust and odors by storing appliances like ovens and refrigerators with baking soda inside.
- Clothing, linens, and fabric. Wash, dry, and fold your clothes before storing them. Less delicate clothes should be stored in plastic bins with moisture-absorbing packets; more delicate clothes are best stored in garment bags or wardrobe boxes. Less delicate clothes can also be put in vacuum-sealed bags to save space. For more tips, see our guide on how to store seasonal clothing.
- Documents, books, and paper items. Clean books with a soft, dry brush before storage, and put any loose documents into a binder or folder. Keep any books or folders in dust jackets, and put them in plastic containers with moisture absorbers. Humidity control is an excellent way to preserve paper goods, as too little moisture can make paper brittle; too much moisture can cause mildew to grow.
- Artwork. Use a microfiber cloth to clean any paintings or posters before storing, and keep them in a canvas bag with a sheet of acid-free paper to protect the business end. Put the whole assembly in an acid-free container to prevent damage, and make sure you opt for climate control and a high-security facility when storing artwork of value.
Techniques for organizing and laying out your unit

Your floor plan is ready, your inventory is detailed, and your stuff is properly packed. It’s finally time to start loading up your unit, and if you use these tips, you’ll have excellent organization in place.
Use vertical space
The average storage unit offers about eight feet of vertical space, meaning stacking boxes and bins is the best way to get the most out of a unit. Always stack heavier boxes on the bottom and decrease weight as you go up to prevent any crushing damage.
For extra ease of use, install some metal or plastic shelving units against the walls that will allow you to access your containers without having to disassemble a stack. Shelving will also put the weight of each box on the shelves rather than on the boxes underneath, removing the risk of crushing damage.
Any extra wall space can be used for strapping large flat items against the walls or setting up a ladder or steps with an S-hook so you can access items you wouldn’t normally be able to reach.
Zone your space
If you’ve laid out different zones on your floor plan, this is where you put them into action; if you haven’t, there’s no better time to start. Zone your items by category so you know what goes where, and lay out each zone by how frequently you’ll be accessing it. Clearly label each box with the zone it goes in, and note each zone on your inventory sheet.
You can further organize your zones by how frequently you’ll be accessing each item. The items you use most of all should go closer to the unit door at an easily reachable height, while the ones you don’t intend to use until you unpack the unit can go towards the back and top of the unit. Make sure your pathways give you access to even your least used items, however, as you never know when you might need them.
If you happen to be sharing your storage unit with friends or family, zone the unit for each additional person before you organize any further. This will keep you from stepping on each other’s toes, metaphorically and literally.
Further stacking techniques
If you have the time and space, here are a few tricks worth trying out when stacking boxes and organizing items in your storage unit.
- Pyramid stacking. You can create extra stability by stacking increasingly smaller boxes on top of each other, maximizing weight distribution. Just remember not to stack a small heavy box on top of a large light box!
- Interlocking box arrangements. Positioning multiple stacks of boxes together so their edges support one another will help each stack distribute its weight more evenly and make sure they don’t fall over.
- Sturdy furniture as storage platforms. So long as they’re able to take the weight, you can use the tops of dressers and tables to store some light boxes and valuables.
Techniques for labeling and managing inventory in your storage unit

To make sure you’re organizing your storage unit throughout the whole process, update your inventory as you go. This is where the leftover space on your inventory list for zone names, bin colors, numbers, etc. will come in very handy; as you use whatever system you’ve decided is best for your boxes and bins, add those details to each item on your list.
Regardless of what kind of box or bin you’re using, there should be easy ways to clearly label them all. Here are a few tips for getting the most out of your organization system:
- Label boxes and bins twice. Put one label on the top and one label on the side that will be facing outward so it’s easy to identify from any angle.
- Color-code your labels by item category. This will make it much easier to group items and find them when you need them.
- Number each box or bin in each category and add the numbers to your inventory. For example, listing an item under “Books, 3” means you can easily look in bin 3 of books for it when you need it.
Whether your main list is physical or digital, don’t feel bad if you have to update it as you go. Packing strategies can change over time depending on your needs, so leave some wiggle room on your list for any changes you may need.
When your list is finalized, print it out if it’s digital. Laminate the physical copy of your list and keep it inside the unit, preferably on a clipboard with your storage insurance paperwork. From here, you can easily create some digital backups in case the original list is lost:
- Take a picture of every labeled bin.
- If your list was originally written on paper, transfer all of its details to a spreadsheet.
- Create a map of the storage unit with color-coded zones and a written list of what categories go in each.
Having extra digital copies of your list and storage map layout will not only save you in the event you lose the originals, you can also easily share them with anyone else who may be helping with your storage unit.
How do I keep my storage unit organized in the long term?
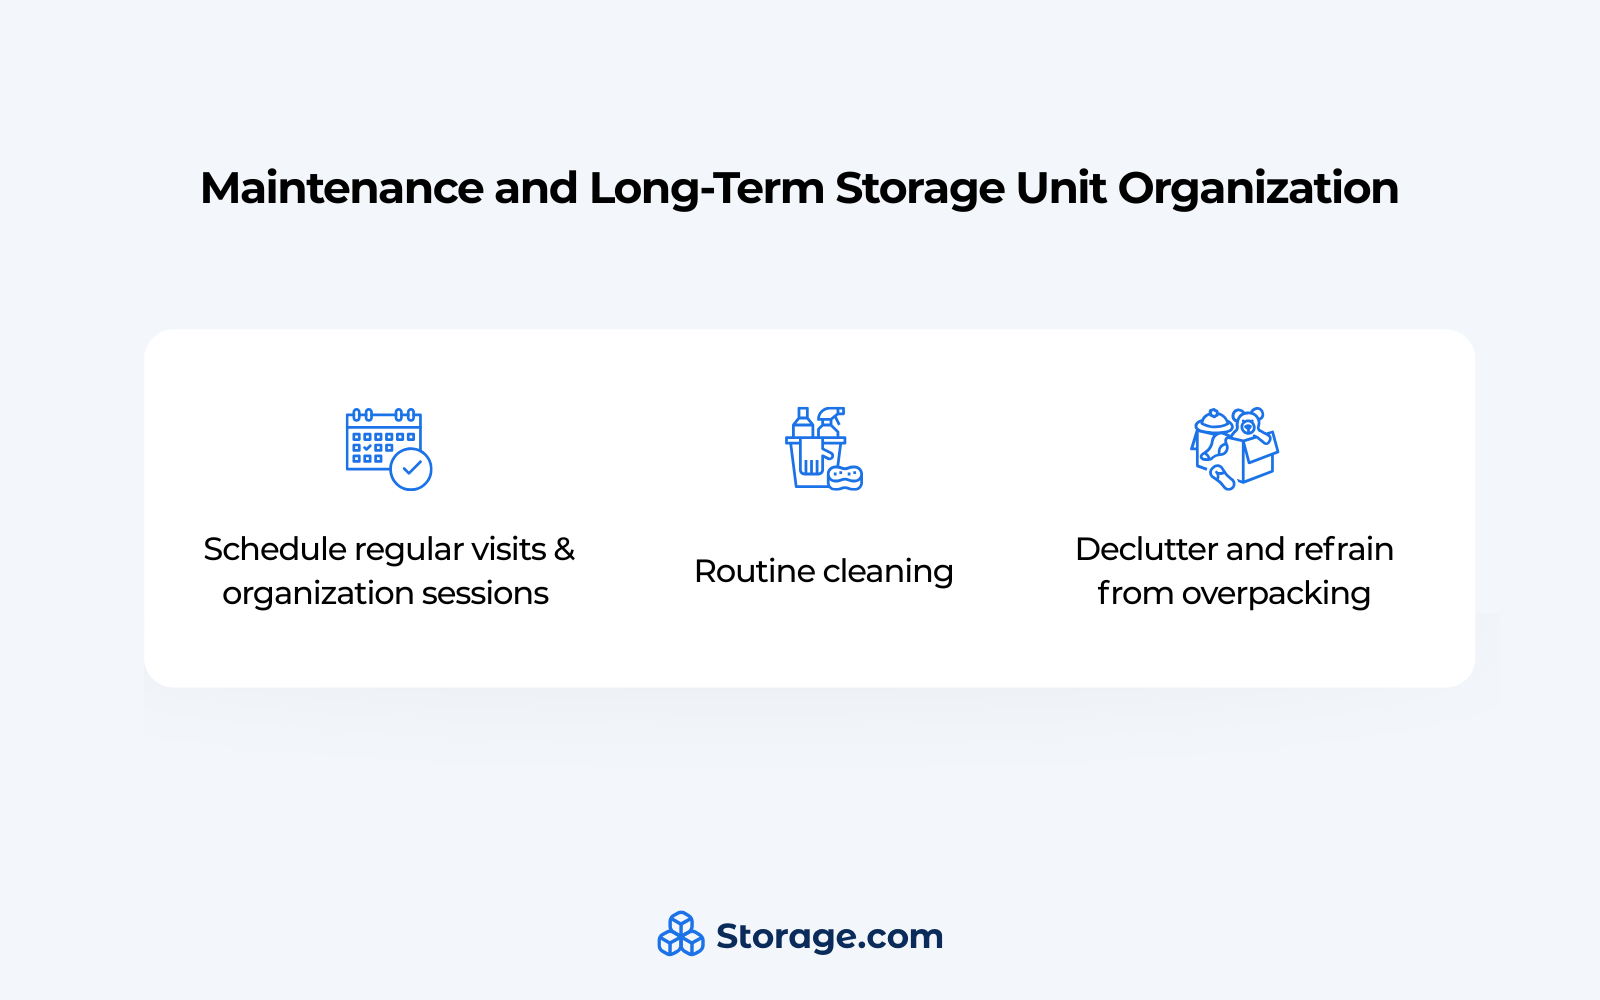
The hard part is over! You’ve planned out your packing and storage systems, loaded up your unit, and finalized your inventory list. However, if you want to keep your unit organized over time, you’ll need to do some regular maintenance and cleaning; luckily, it’s not that hard to do. Let’s walk through some of the best practices for long-term storage maintenance.
Regular upkeep
Block out some time at a regular interval to go through your unit and reorganize anything that may not fit into your grid. Quarterly visits every three months, for example, will allow you to swap out seasonal items at the beginning of each season and update your inventory list with any changes you’ve made.
Routine cleaning
Your regular maintenance visits are also an excellent opportunity to make sure everything’s clean. Dust anything that needs it, sweep the floors if they’re dirty, and wipe down any stains if your unit isn’t well-protected from grime.
Decluttering
One of the best ways to maximize your space is to get rid of items you’re sure you won’t need. If you’ve made a few visits and you’re realizing some of your things aren’t getting used at all, it may be a good time to sell or donate them.
A few more “don’t”s
Here are a handful of common mistakes to avoid when packing and organizing your unit.
- Overpacking boxes. Too much weight or volume can damage boxes, especially if they can’t close properly.
- Blocking walkways. A storage unit is basically useless if you can’t physically access every item you need.
- Distributing weight improperly while stacking. This can lead to heavy boxes crushing and damaging lighter boxes.
- Forgoing high security for valuable items. This raises the chance that your goods may be damaged or stolen.
- Forgetting to update inventory lists. You may end up stuck with an outdated list that doesn’t reflect your unit’s current status.
How do I find the right storage unit for my needs?
If you’ve read all the way through this article, you should have plenty of tips in hand for making sure your storage unit starts organized and stays that way. Make sure you create a detailed inventory list and plan out your storage unit layout before you load your items in for best results.
When you’re moving in, organize your boxes into zones and stack them properly to make the most of the unit’s vertical space. Once everything’s organized, make time to visit your unit regularly for reorganizing and decluttering, and your stuff will stay clean, organized, and fully accessible for as long as you’re renting the space.
All that’s left is to decide on a storage unit, and you’re in the right place for that as well! Whether you just need a basic 5′ x 5′ unit for some extra space or you require a high-security, climate-controlled 10′ x 30′ unit for valuable business inventory, we can help you find exactly the storage facility for your needs. Use Storage.com’s built-in search tool to find the best facilities in your area, filter them by the features you require, and start the booking process with exclusive discounts!