Winter months can be tough on campers, travel trailers and other RVs. Without the right prep, freezing temperatures can crack water lines, flatten tires, drain batteries and cause other damage that can turn your RV dreams into a repair nightmare. But a few simple steps now can save you from unexpected trouble and get you back on the road as soon as spring arrives, no matter where you store your RV.
This guide breaks down everything you need to do to keep your RV in top shape during its winter sleep, from clearing out the water system to shielding the exterior and caring for the battery and tires.
Step 1. Prepare the Water System
When you’re itching to hit the road in your RV after a long winter, the last thing you want to see is puddles from burst frozen pipes. To avoid this not-so-welcome surprise, prep your RV’s water system for its cold-weather hibernation.
Draining the water system
Start by removing all water from your RV’s water system to prevent freezing damage during winter. For that, you must drain the water lines, freshwater tank and both holding tanks — the latter at an RV-approved dumping station.
- Drain the black and gray water tanks, then use a cleaning wand or specialized cleaner to flush out the black tank.
- Make sure the water heater is off and cool prior to draining.
- Open the pressure relief valve and remove the drain plug or anode rod using a wrench to let the water out.
- Flush the heater with city water for a few minutes to remove any sediment.
- Leave the drain plug out during storage and replace the anode rod in the spring if needed.
- Turn off the water pump and open all faucets, including outside faucets, to drain any remaining water.
- Open the low-point drains until no water flows out.
You may also use an air compressor to blow out the water lines after draining, but be careful not to exceed 40 psi to avoid damage to pipes.
Bypassing the water heater
You can bypass the water heater to use fewer gallons of antifreeze. Most RVs have a bypass valve, but you’ll need a bypass kit if yours does not. Just locate the access panel to the water heater and adjust the valves to redirect the flow around the heater.
Adding antifreeze
After the system is drained and bypassed, add RV-specific antifreeze (propylene glycol) to prevent any remaining water from freezing. Never use automotive antifreeze (ethylene glycol), which is toxic to humans and unsafe for plumbing systems.
- Take out any inline water filters before adding antifreeze to prevent damage to the filters.
- Attach a siphoning kit or hose to the water pump, inserting the other end into a jug of RV antifreeze.
- Turn on the water pump to begin circulating antifreeze throughout the water lines.
- Starting from the lowest point, open faucets, valves and external showers until the antifreeze flows out. Ensure both the hot and cold sides of each faucet are covered.
- Pour a cup of antifreeze down each sink, shower drain and into the toilet. Flush the toilet until you see the colored antifreeze.
- Make sure all low-point drains are open until the antifreeze is visible, then close them securely to prevent any residual water from freezing.
Step 2. Protect the Exterior
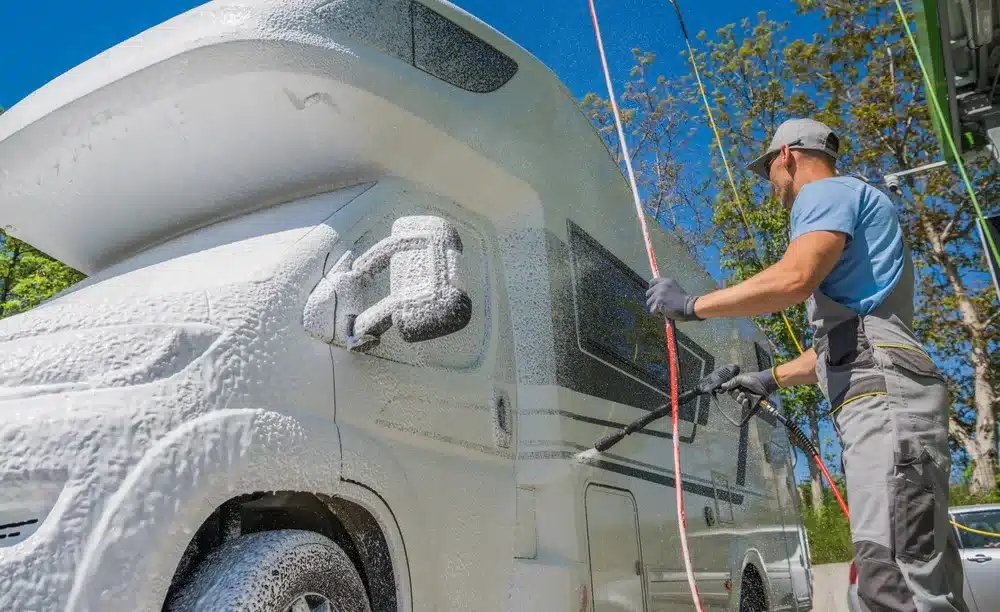
Before you put your RV into hibernation, give it a good exterior cleaning and provide it with a protective wax shield against moisture, corrosion and cold weather.
- Sweep off all debris from the roof and use a mild cleaner that is particularly made for your roof type.
- Fully extend, clean and dry the awnings to prevent mold and mildew.
- Clean the RV top to bottom using a mild detergent, lukewarm water and a soft brush, paying particular attention to seams and joints. A hand wash is preferred over automatic car washes to prevent possible damage to attachments and surfaces of the RV.
- Avoid extremely hot water and keep pressure sprayers at least 16 inches away from the RV, especially near windows, doors and vents.
- While cleaning, check for any cracks, gaps or damaged seals, including around windows, doors, roof vents and other openings. Repair them promptly with a suitable sealant like silicone or RV-approved caulking.
- Once clean, apply a coat of RV-specific wax. Make sure the RV is not in direct sunlight and after the surface has cooled and completely dried.
Pro Tip: Do not use paint thinners or gasoline if you need to remove road tar from painted surfaces. Stick to WD-40 and microfiber cloths.
Step 3. Interior Preparation
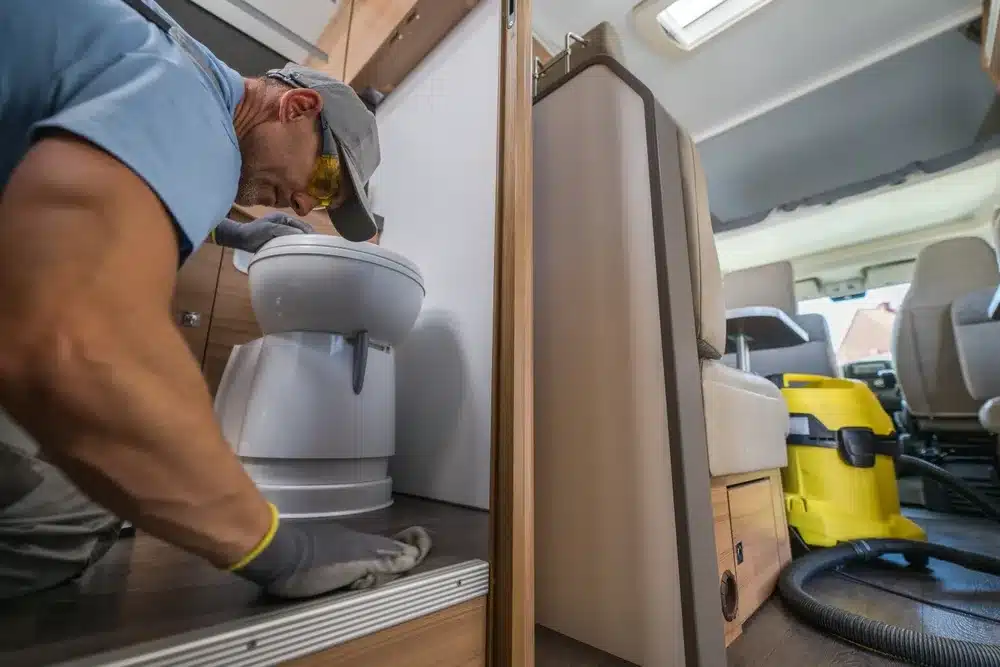
Keep your RV fresh and inviting come spring, by tidying up the interior and disposing of anything that might attract critters. Here’s a step-by-step guide that may come in handy:
- Clear out all food and perishables from the RV, whether from the pantry, the fridge or just snacks hidden somewhere.
- Deep-clean the interior, including countertops, floors and cabinets, to remove any crumbs or spills.
- Wipe down and dry all surfaces, especially in the kitchen and bathroom, to avoid mold and mildew.
- Take all things out of the refrigerator and freezer, then defrost the freezer so that no ice builds up inside.
- Leave the fridge and freezer doors slightly open to allow air circulation. Do the same for cabinet doors and drawers.
- Vacuum all floors, carpets and upholstery to remove dust, dirt and allergens. Also, clean under cushions and mattresses and leave them propped up.
- Place ant and roach traps, and use anti-rodent foam or peppermint granules in food storage areas to prevent pest infestation.
- Take out batteries from clocks, remotes and other electronic devices to prevent corrosion or battery leaks over the winter.
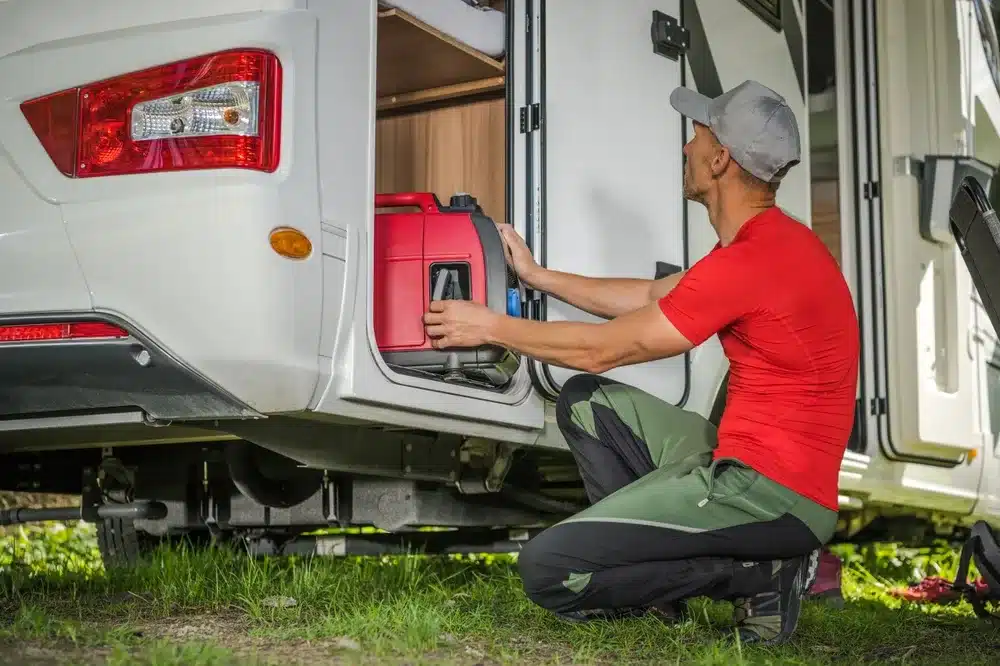
Step 4. Battery and Engine Care
To prevent RV battery drain during winter, it’s best to disconnect it and store it in a dry, climate-controlled area, hooked to a battery tender.
- First, disconnect the negative terminal and then the positive one.
- If it’s to remain in the RV, charge the battery fully and then check the charge from time to time during the winter.
- If your RV has multiple batteries, you can find specific instructions in the owner’s manual.
- Check and top off all essential fluids, including engine oil, brake fluid and transmission fluid.
- Fill the fuel tank and add a fuel stabilizer to prevent the fuel from breaking down. Run the engine for five minutes to circulate the stabilizer.
- Refill all propane tanks, then shut them off to prevent leaks. Remove external propane tanks in freezing climates and store them safely in a warm, sheltered spot outside the RV.
Note: Instead of a battery tender, you can also use an automatic trickle charger. A simple float charger will provide a constant current, leading to overcharging.
Step 5. Tire and Jack Stand Preparation
You want to avoid tire damage and prolong the life of your RV tires when storing them during winter. Here’s how:
- Check the recommended tire pressure according to your RV owner’s manual, and inflate all tires to that pressure or slightly over to prevent flat spots.
- Even better, place the RV on jack stands to take the weight off the tires. This also reduces strain on the suspension system.
- If you can’t use jack stands, but the winter storage spot is nearby, move the RV slightly every few weeks to change the contact points and prevent flat spots.
- Park your RV on a hard, level surface like concrete to minimize moisture exposure and tire deformation whenever possible. Grass or dirt parking areas can retain moisture that could damage the tires.
- If you store the RV outside, apply a UV protectant spray on the tires to prevent sun damage or use tire covers.
Step 6. Final Checks and Storage

Before you bid adieu to your RV for the winter, conduct these final checks to ensure everything is set for safe storage.
- Remove personal belongings, especially valuables, to prevent theft or damage during storage.
- Close and seal all roof vents, windows and other openings. Use steel wool or aluminum mesh to plug any small openings that could allow pests to enter.
- Clean and dry the sewer hose thoroughly before storing it in a dedicated compartment to prevent odors.
- Allow good ventilation in the RV. Use moisture absorbers like silica gel packets to manage humidity. If you store your RV at a storage facility where you can access a power source, run a dehumidifier every once in a while.
- Lubricate all locks, hinges and moving parts to prevent rust.
- If you store your vehicle outside, use a breathable yet sturdy RV cover to protect against snow, ice and UV rays.
- If you store your travel trailer in a storage facility with windows, protect the interior from UV damage by closing all the curtains or blinds.
Pro Tip: Schedule periodic checks on your RV during the winter months.
Need help visualizing this step-by-step winterization process? Check out how John Marucci winterizes his 2020 Keystone Bullet travel trailer
FAQs on How to Winterize an RV
Antifreeze-related questions are the most common ones we get on the topic of RV winterization.
How much antifreeze do I need?
For most RVs, you will need about 2-3 gallons of antifreeze to winterize the freshwater system. This is related to the model and size of your RV, so it’s always best to check against the requirements specified in your owner’s manual.
Can I use regular antifreeze?
No, always use RV-specific antifreeze. Regular automotive antifreeze is toxic and unsafe for the RV freshwater system. RV antifreeze is designed to be non-toxic and safe for plumbing, so the water system stays uncontaminated during winter storage.


