How to store your crafting supplies
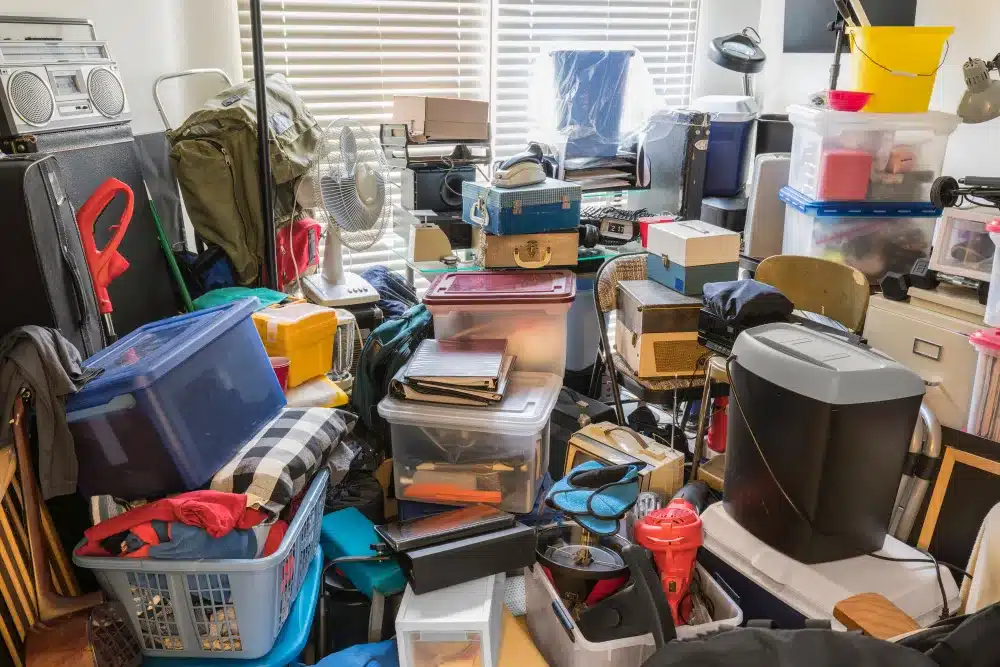
Whether you’re an Etsy shop owner, DIY expert, or just really like the smell of glue, crafting can be anything from a fun hobby to a profitable business. But there’s one thing crafting can bring to all crafters: clutter.
Stacks of fabric, boxes of construction paper, bottles and bottles of glue—and that doesn’t even include all the tools you’ll have to use. And while there’s plenty of creative ways to organize your crafting supplies at home, what if there’s a way to enjoy all your supplies and equipment without sacrificing space at home?
A storage unit can provide a safe and secure place to keep all your crafting supplies and equipment without giving up your home to glitter-covered clutter.
Find the best storage unit for crafting supplies
Before you begin preparing your crafting equipment for self storage, there are some key features to look for in a storage unit and facility nearby. Start with size; unless you’re a shop owner, a smaller 5×5 or 5×10 unit should do the trick. If your craft includes heavier tools or machinery, our woodworking storage guide has helpful tips on choosing the right unit size and features.
While things such as paper, glue, and adhesive vinyls may be relatively cheap to replace, other equipment such as eisles, sewing machines, or Cricuts can be expensive. To help prevent any loss from theft or vandalism, look for strong security features such as electronic gate access, which requires a keycode to enter the premises, as well as video surveillance or onsite management. These security features will keep watchful eyes on your supplies.
Another important feature is climate control, especially if you live in a region with extreme seasonal weather. Fluctuations in temperature can cause issues such as frying electronics, yellowing paper, and even warping wood. At the time time, high amounts of moisture in the air can cause mold and mildew growth in fabrics and papers.
A climate-controlled storage unit will keep your belongings in a constant temperature and humidity level, maintaining the condition of your crafting supplies.
Organize your crafting supplies for storage
Once you’ve found the best storage unit for crafting supplies, you should begin preparing your crafting supplies and equipment for self storage.
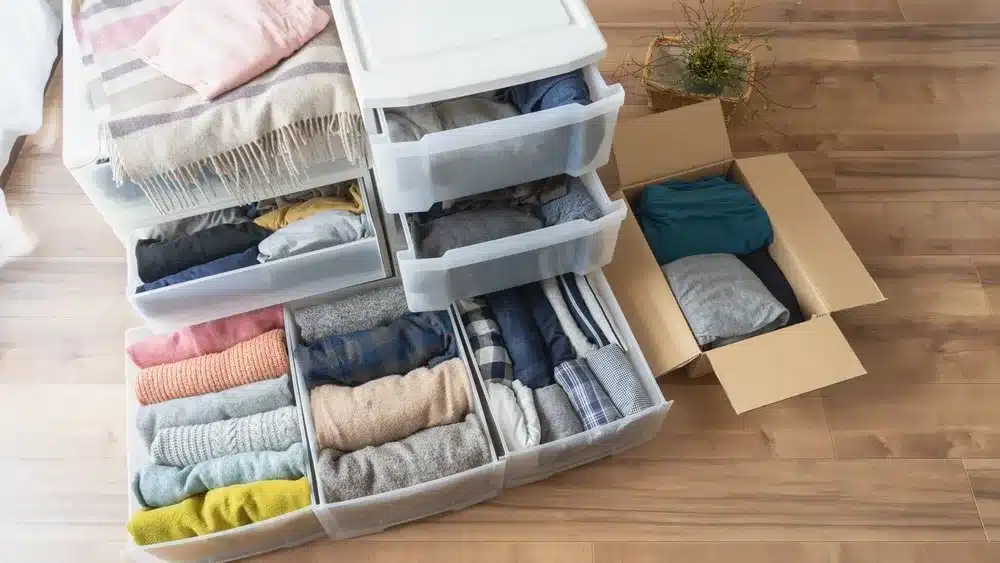
A good start is buying large, clear plastic totes. While it is recommended you label each box, using a transparent tote will allow you to see what’s inside for even quicker spotting and access. Another recommendation is placing like-materials in the same totes; fabrics with fabrics, paper with paper, etc. Again, clearly mark the totes’ exteriors with the crafting type.
This is also a good time to write a separate inventory either on a notepad or on your mobile phone. With an inventory, you’ll know exactly what’s in your storage unit without any guesswork in remembering.
Placing your crafting equipment in a storage unit
The last step to storing your craft supplies is the actual placement of your equipment. While this would seem pretty self explanatory, there is still some tips to get the most out of the self storage experience.
Place your totes and equipment along the perimeter of the storage unit, not stacked up together in a single pile. By lining the walls of your storage unit, you get quick and easy sight on everything in your storage unit, which gives you quick and easy access to the exact supply you need.
Self storage for crafting
By finding the best storage unit for your crafting supplies, preparing your items, and placing strategically in a storage unit, you can get the most out of your self storage experience, enjoy crafting, and not once sacrifice space at home!


